The design of your digital signage content is crucial in conveying the right message to your audience. Vibrant colors, beautiful patterns, and other design elements are more likely to grab people’s attention and send the message you want.
Digital signage has become an integral part of our modern environment, touching people's lives from various walks of life. It is an indispensable tool for communication, information dissemination, and advertising. But have you ever considered the extent of the human element's importance within the[…]
In this case study, we'll delve into the experience of Brian Grinstead, the Director of Technical Support Services at Indian Prairie Community Unit School District 204 (CUSD 204) in Illinois. Brian shares insights into how Rise Vision has positively impacted their district's communication strategy[…]
Digital signage is becoming a default in marketing and communications strategies. From being used as awayfinding solution to facilitating self-service in restaurants, hotels, and airports, businesses are leveraging the power of digital signage in many ways.
Digital signage has taken over the advertising and communications space by storm, with many businesses taking advantage of all the benefits it can bring. Digital displays are everywhere — in elevators, offices, hotel lobbies, on buildings, and now, on top of cars. Car-mounted signs aren’t exactly[…]
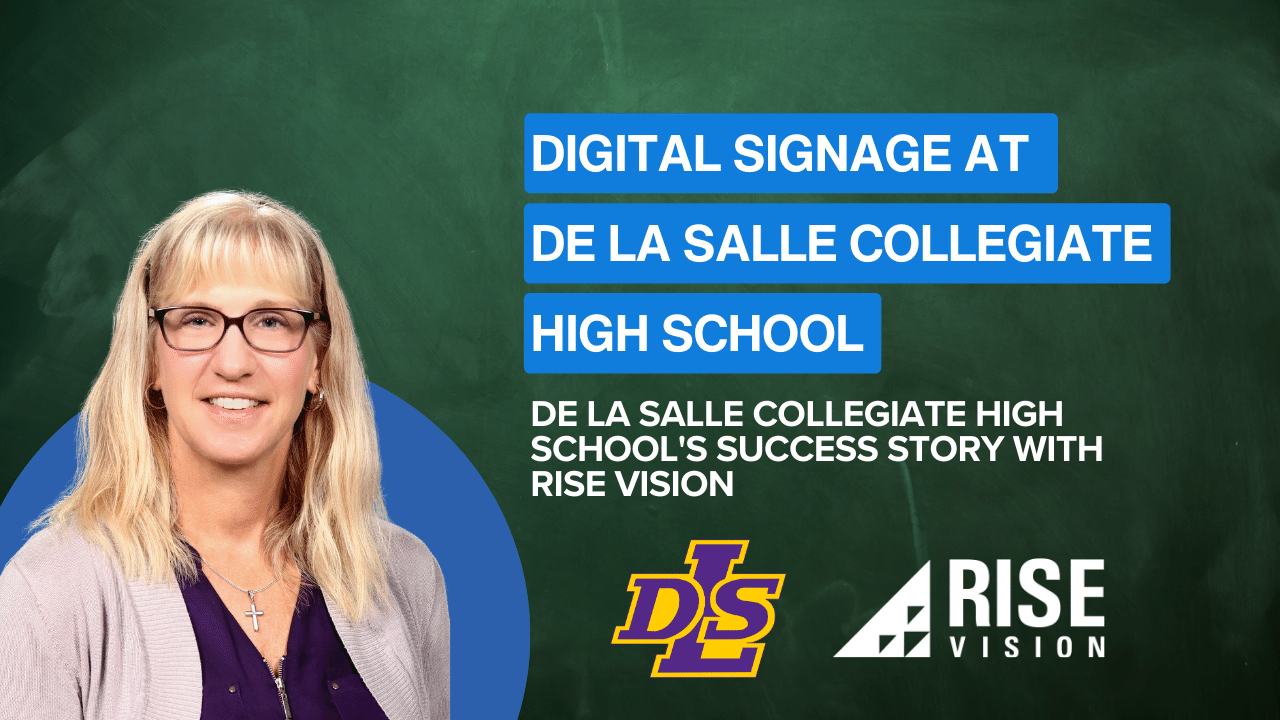
In a recent interview with Sheryl Anderson, the IT Director at De La Salle Collegiate High School, Rise Vision gained valuable insights into how the school has successfully harnessed the power of Rise Vision to enhance communication, engagement, and community involvement.
Occupational safety is one of the top priority concerns for many employers, especially in environments such as factories, production lines, and other manual-labor-focused establishments. Employers are continually searching for ways to increase safety and prevent workplace accidents, and digital[…]
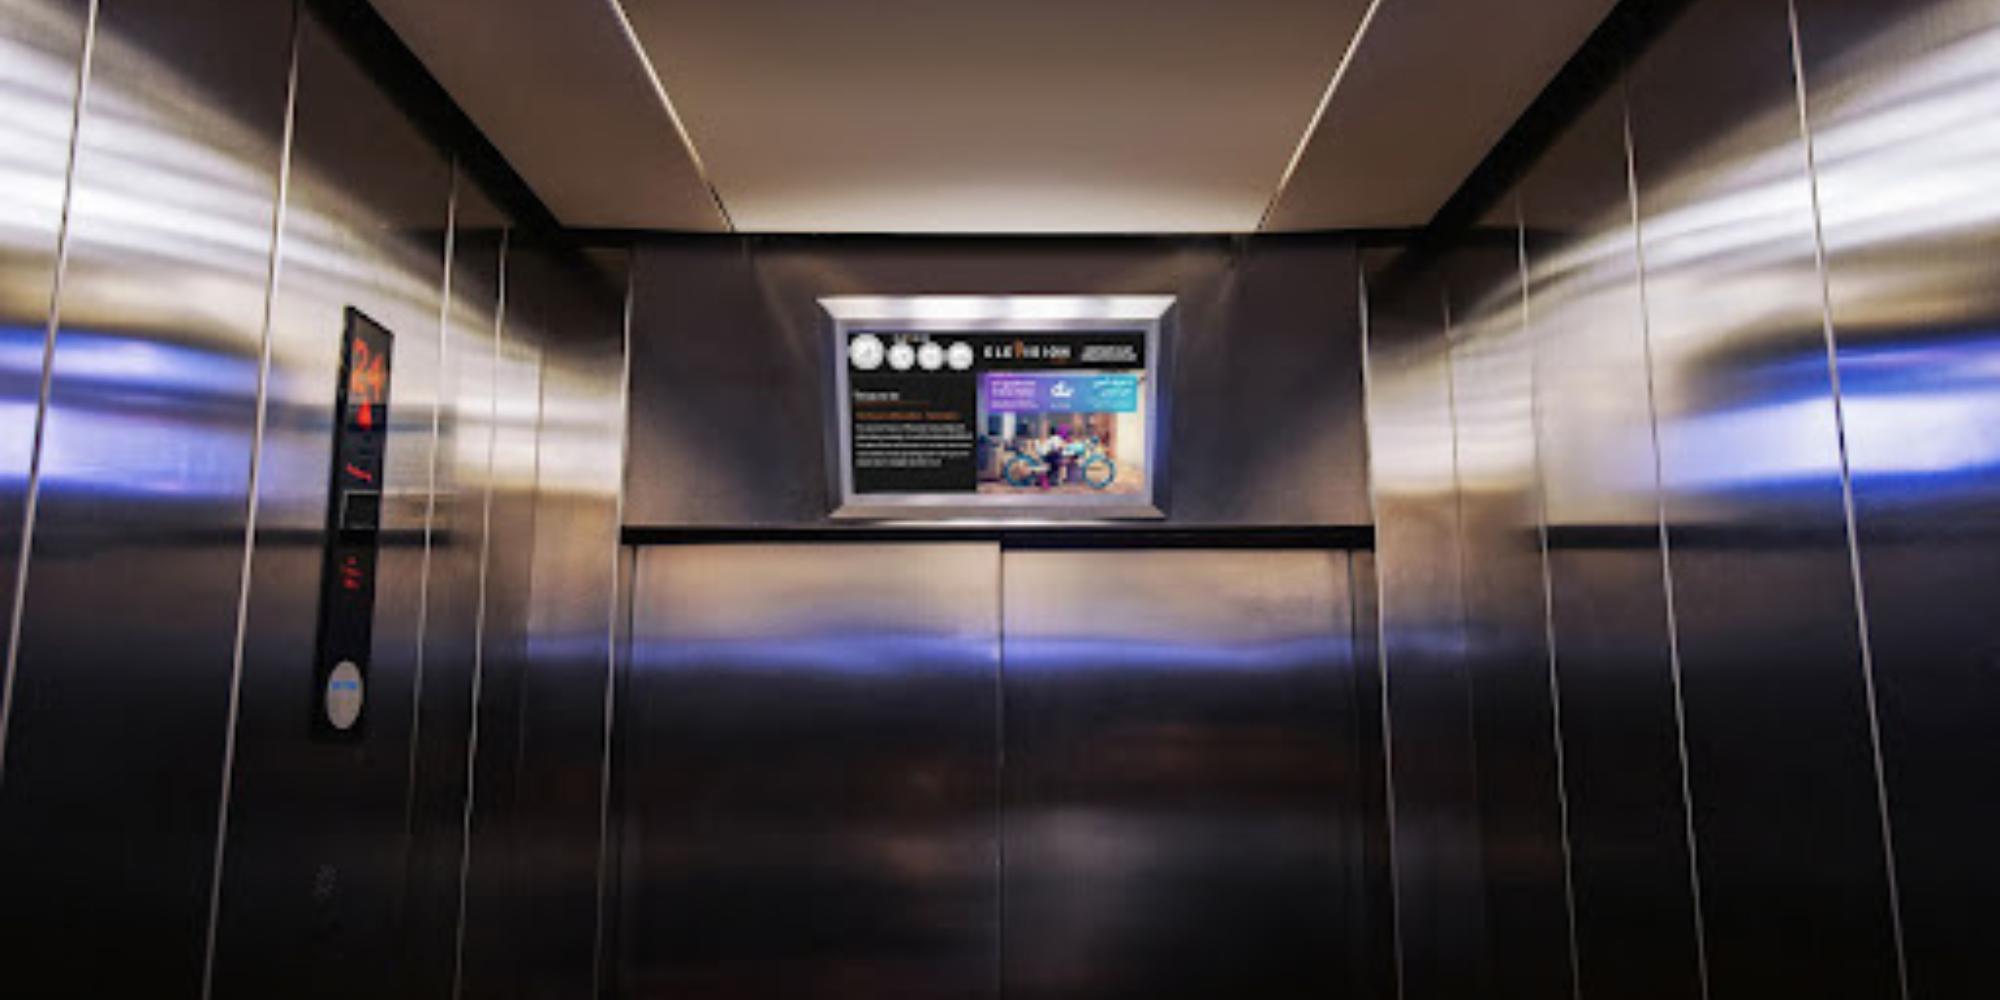
When people hear the words elevator digital signage, more often than not, they think about advertisement displays. However, digital signs in elevators can serve many other purposes, from sharing information to entertaining guests. If you’re on the fence about putting up a digital sign in your[…]
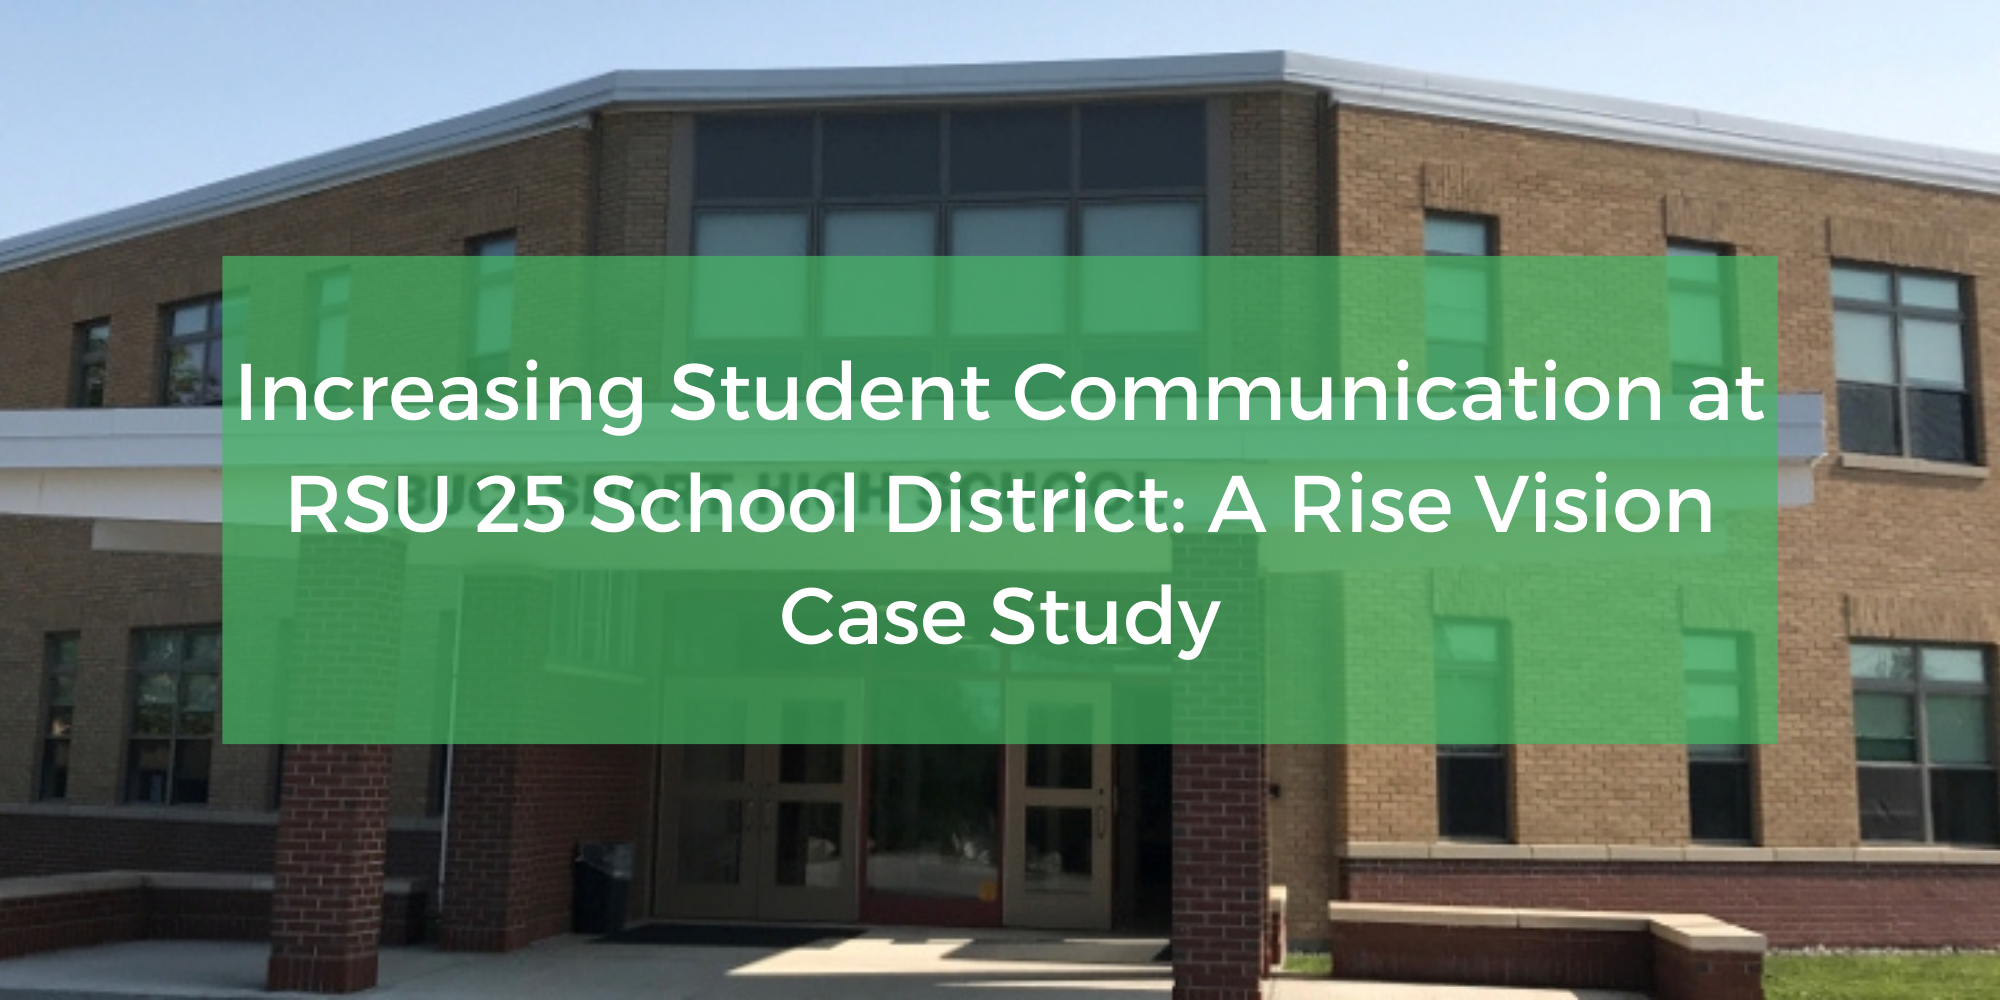
Regional School Unit 25 (RSU 25) is an educational institution located in Bucksport, Maine, catering to over 1,100 students in grades Pre-K-12 across four schools. Like countless schools across North America, they faced the challenge of effective communication.
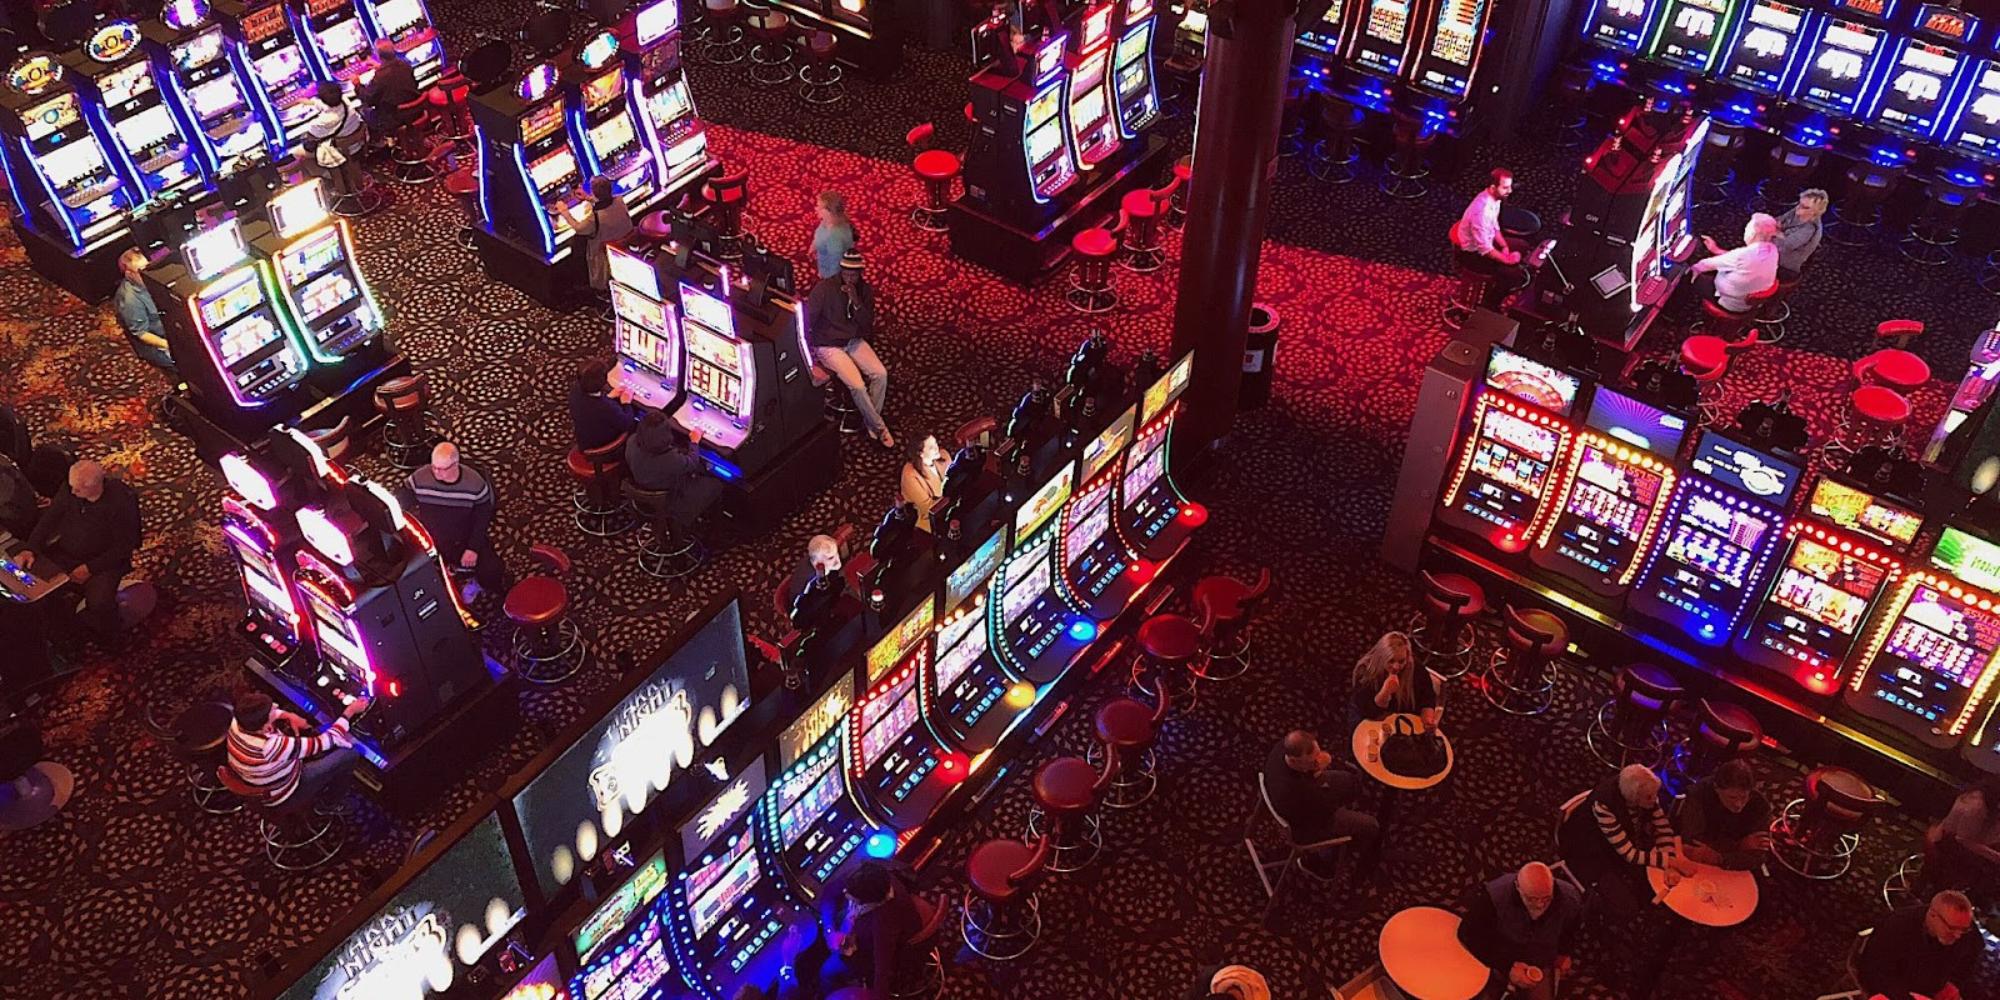
Casinos are one of those establishments that are always brimming with life. Regardless of the time of day, there are people coming and going, slot machines ringing, and drinks being poured. With all that hustle and bustle, it can be difficult to grab your guests’ attention. This is where casino[…]
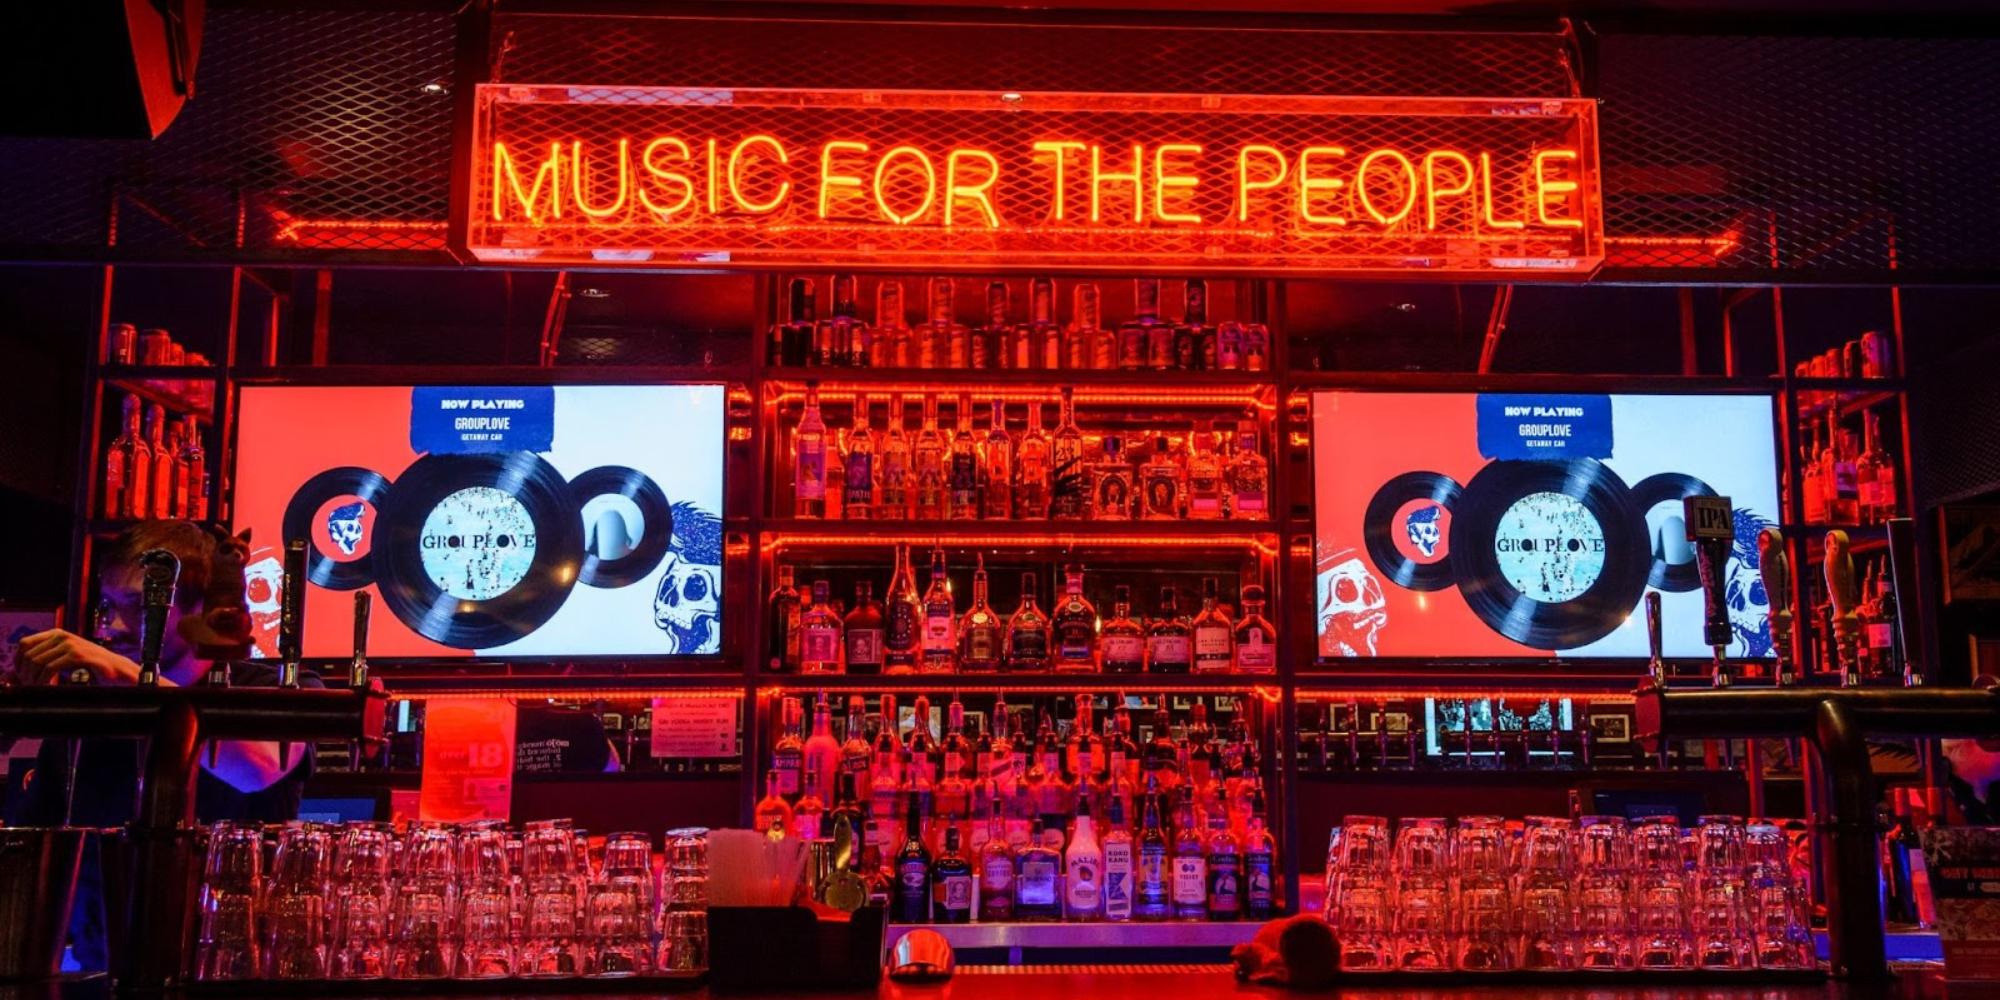
The bar and pub scene is a highly competitive one. In fact, according to IBISWorld, there are around 70,000 bars and nightclubs in the United States alone. With such fierce competition, bar owners and managers have to fight to stay on top by constantly improving their offer, customer experience,[…]
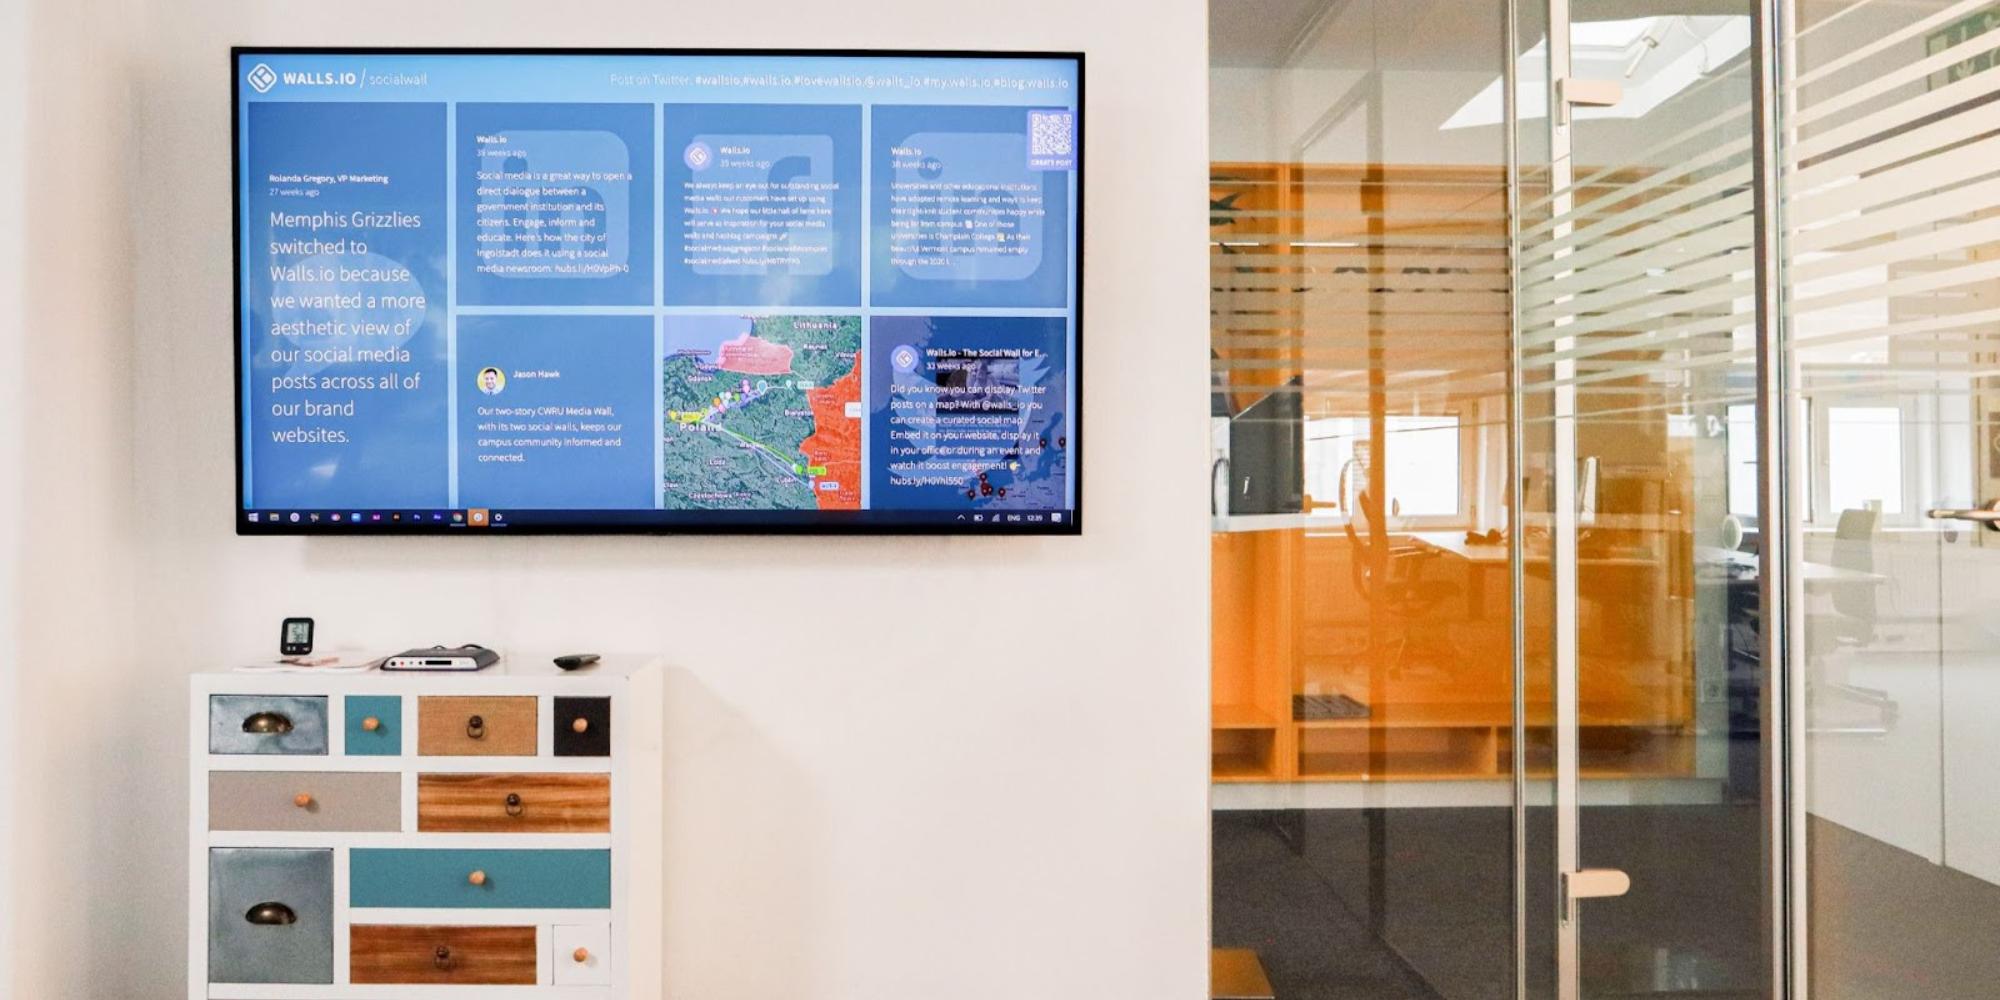
Businesses from all kinds of industries have introduced cloud based digital signage into their day-to-day operations, be it to advertise, communicate with customers, or improve operational processes. Digital displays are all around us — in offices, bars, and shopping malls, at airports and metro[…]