Quick Summary
Wireless screen sharing for education has become standard in schools, but most classroom setups still break down over mixed devices and separate networks. The right platform handles every device, gives teachers control, and works across student and staff networks without changing security policy. Cloud-based platforms also turn idle displays into digital signage, so one screen does two jobs.
The Microsoft Wireless Adapter Is Gone. What Now?
Microsoft discontinued its wireless display adapter, and schools that built their classrooms around it are stuck. Buy more dongles from another brand, and you're back to the same problem in two years. Every teacher still fights with adapters that only work with one device type, and IT still walks classroom to classroom every time an adapter stops working.
There's a better way to handle this. This guide shows you how to set up wireless screen sharing that works across every device, every network, and every display in your school.
Why Listen to Us
Rise Vision has helped 5,700 schools set up wireless screen sharing. Our platform is used by 12,300+ organizations across 100+ countries. Every recommendation below comes from what works in classrooms and educational environments.
What Wireless Screen Sharing Means for Schools
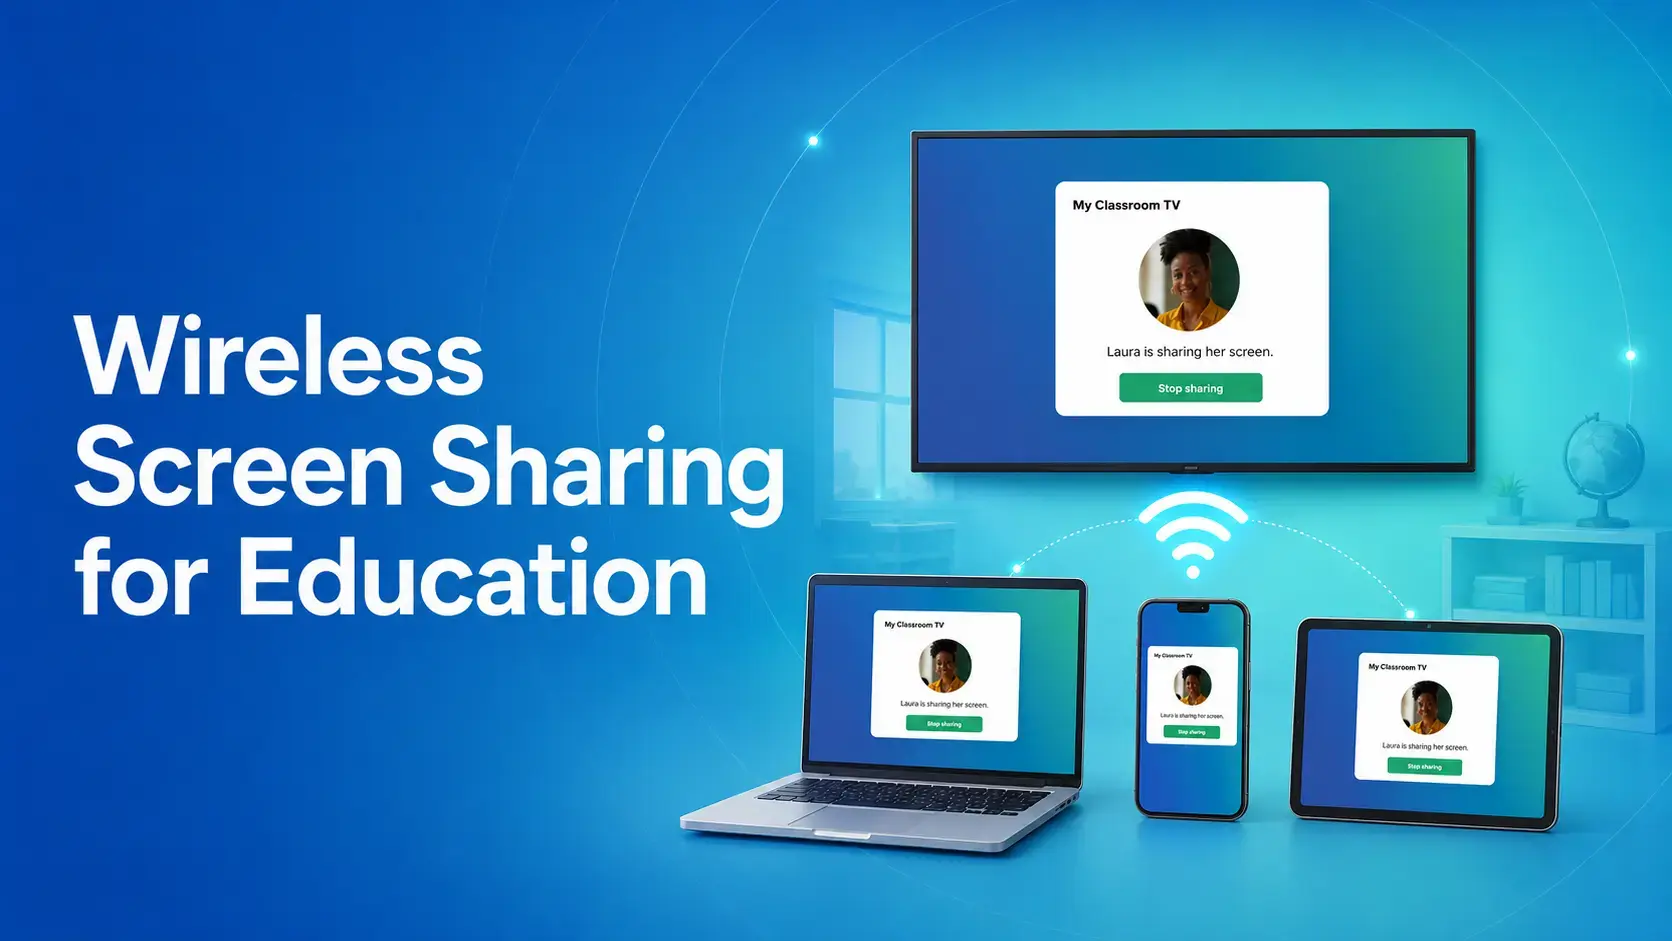
Wireless screen sharing lets teachers and students share what's on their device to a classroom display. There are no cables to plug in, no adapters to find, and no need to email slides to yourself before class.
The version built for schools looks different from the casting device you use at home. It has to handle mixed devices in one room. It has to respect network segmentation between students, staff, and guests. It has to give teachers control over who can share, and it should work with the displays the school already owns.
Here's what it typically replaces in a school:
- HDMI and USB-C cables
- Chromecast, AirPlay, and Miracast dongles
- The Microsoft wireless display adapter (now discontinued)
- Single-device casting boxes built into some interactive flat panels
Where Wireless Screen Sharing Fits in Schools
Three settings account for most of what schools use it for.
1. Classrooms
This is the main use case. A teacher shares a lesson from their MacBook. A student presents their project from a Chromebook. Another student takes over from an iPad, and nobody has to unplug or reconnect anything between them.
Wireless screen sharing also pulls quiet students into discussions. A teacher can invite them to share from wherever they're sitting, without them having to walk to the front of the room.
The key feature here is multi-presenter support. Adapters handle one connection at a time. A platform like Rise Vision lets the next student connect without the previous one having to disconnect first.
2. Meeting Rooms
Staff meetings, PD sessions, and parent conferences all run through the same displays.
Screen sharing in meeting rooms has to handle guests too. A visitor on the guest Wi-Fi should still be able to share without you merging their network with the staff network. Any laptop, tablet, or phone in the room connects to the same display.
3. Idle Displays Doing Double Duty
Cloud-based sharing works differently from a dongle. When nobody is casting, the screen doesn't stay on a pairing logo.
The display switches back to digital signage instead. Between classes, it shows the daily schedule or announcements, and if there's an emergency, an alert takes over every screen at once.
The same display now does two jobs. It runs screen sharing during the lesson and shows useful content the rest of the day.
How to Set Up Wireless Screen Sharing in Your School
Five steps cover the setup for most schools.
1. Pick an OS-Agnostic Solution
Classrooms rarely run one device type. A student might be on a Chromebook while another is on an iPad. The teacher is on a MacBook, and the substitute brought a Windows laptop.
No single adapter covers all four. Each one is tied to a specific device family, so the moment someone brings in a device outside that family, the lesson stops while someone finds an adapter.
An OS-agnostic platform works the same way regardless of what students, teachers, or staff bring in. Nothing gets installed on the devices, which means no software updates to manage on the user end.
2. Decide How People Will Share
Two sharing methods fit every scenario in a classroom.
- Browser-based sharing: The user opens their browser, enters a screen share code, and starts sharing. There's nothing to install, which makes it the fastest option for laptops and Chromebooks.
- Dedicated apps: Android and iOS apps handle tablet sharing. These are important for classrooms where a lot of student work happens on iPads.
Between the two, any device in the room can share within seconds.
3. Control Who Can Share and Where
Once every device can share, the next question is who's allowed to.
- Moderator mode: gives the teacher a waiting room where students request to share. The teacher approves each request, and the student's screen goes up on the display. The teacher ends the share when the class is ready to continue. No student can push content to the front of the room without approval.
- Code Connect: generates a short code that appears on each display. Users enter that code on their own device. Even in a building with 30 displays, nobody accidentally casts to the wrong classroom.
Both features are built into Rise Vision's screen sharing software so the wrong person can't share to the wrong room.
4. Handle Multi-Network Setups
Most districts run separate networks for student, staff, and guest devices. Network separation is a security requirement that schools have to work around, not something they can turn off.
A lot of screen sharing tools can't share between VLANs. That means a student on the student network can't share to a display on the teacher network. The workaround is either merging networks or opening up access, both of which create security problems.
A platform built for schools supports VLAN, Wi-Fi, and Ethernet sharing without either workaround, so you don't have to touch the existing network setup to get screen sharing working.
5. Manage Every Display from One Dashboard
The last part of the setup is what happens after the classrooms go live.
In a typical school, every display is in a different room. When one stops working, that means a teacher ticket and a member of IT walking to the classroom.
Cloud-based screen sharing runs every device through one dashboard. IT can see the status of every display, push updates, restart devices, and troubleshoot without leaving their desk.
The same dashboard makes it possible to use the interactive flat panels already mounted in classrooms. Instead of buying new hardware, a screen sharing layer runs on top of the existing displays. The panel that came with built-in screen sharing that teachers stopped using can now get regular use again.
Compare: Cables vs. Dongles vs. Cloud-Based Sharing
|
Capability
|
HDMI/USB-C cables
|
Casting dongles
(Chromecast, AirPlay, Miracast)
|
Cloud-based wireless sharing
(Rise Vision)
|
|
Works across every device type
|
No
|
Only within one device family
|
Yes
|
|
Multiple presenters back-to-back
|
No
|
One at a time
|
Yes
|
|
Cross-network sharing
|
N/A
|
Rarely
|
Yes
|
|
Managed from one dashboard
|
No
|
No
|
Yes
|
|
Display use when nobody's sharing
|
Blank
|
Pairing screen or logo
|
Digital signage content
|
|
Works with existing displays
|
Yes
|
Sometimes
|
Yes
|
What to Check Before You Roll Out Screen Sharing
A few things are worth confirming before you deploy across the district.
- Device mix: survey what teachers and students actually use. If Chromebooks, iPads, MacBooks, and Windows laptops all show up in one room, an OS-agnostic setup is the only option that covers everyone.
- Network policy: check with district IT on how student, staff, and guest networks are separated. Confirm the platform supports cross-network sharing so you don't have to change existing security policy.
- Existing displays: list the classrooms with interactive flat panels already installed. A cloud-based platform can add screen sharing to those panels instead of forcing you to buy new hardware.
- Idle screen use: decide what displays show when nobody is sharing. Digital signage content is the standard for schools already using Rise Vision.
- Rollout order: start with a handful of classrooms. Confirm it works with your device mix and network policy before expanding across the rest of the district.
Roll Out Screen Sharing Across Your District
Wireless screen sharing works best when the setup does not interfere with teaching. A classroom is not a boardroom. Teachers switch between devices mid-lesson, and students bring whatever the district issued them. The setup has to work reliably under those conditions without becoming a recurring IT task every week.
This is why Rise Vision works well for wireless screen sharing in education. Every device shares to every classroom display without an adapter for each brand, and teachers control who shares and when. The same displays run digital signage and emergency alerts, and IT manages every screen across the district from one dashboard.
Try Rise Vision risk-free with a 30-day money-back guarantee. You can also book a demo if you want to see how it works on the displays your school already has before committing.