
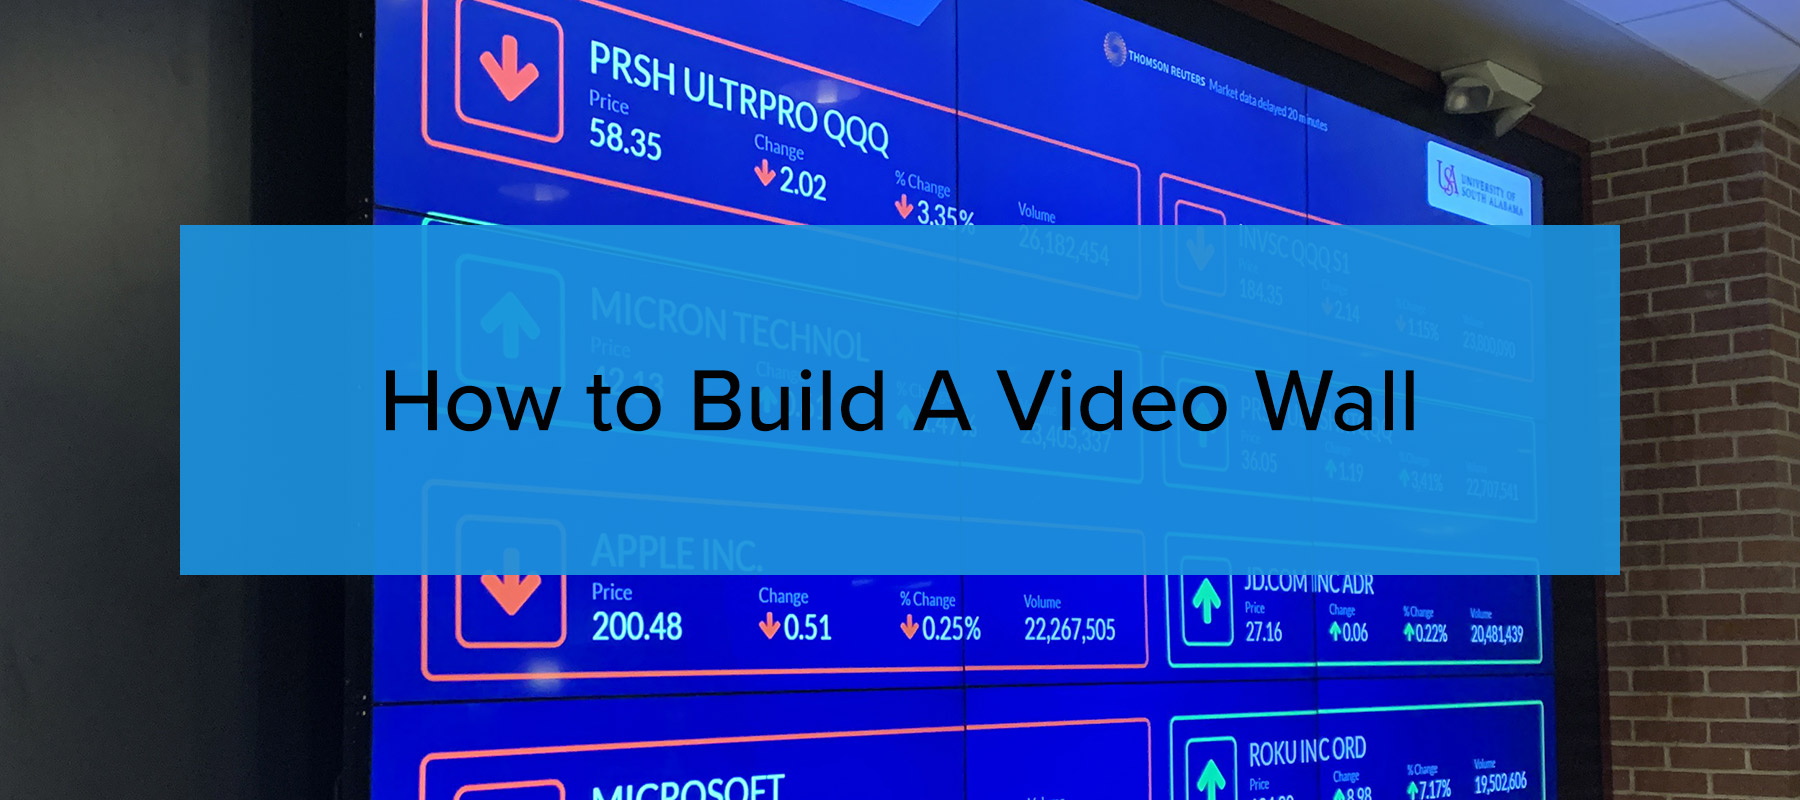
Video walls are impressive ways to display video content, making them ideal for office lobbies, museums, theaters, and schools. The steps to construct a video wall depend on the project's goals and how you envision its function. This guide will walk you through the process, from defining your goals to installation and software setup.
Before You Build a Video Wall: Establish Goals and Measure!
Before you start building your video wall, clearly defining your goals is essential. Doing this will save you time and money down the road. Here are some questions to consider before moving forward:
- What is the purpose of the video wall?
- Where will it be located?
- Is there a nearby electrical outlet?
- What size video wall do you need?
- What functionalities does the video wall need to support?
- Is Wi-Fi or Internet access available in the area?
- Could any nearby water sources (like fountains) affect the installation?
- Who will install the video wall? Do you need professional help?
Documenting your goals and having others review the plan is a good practice. Someone might spot issues that could otherwise lead to unforeseen costs or complications.
Measuring and Planning for Your Video Wall Installation
A common mistake when building a video wall is failing to account for all the required dimensions. Ensure you’re measuring the following:
- Actual display size (not just the advertised diagonal screen size)
- Frame and supporting structure dimensions
- Room needed behind the displays
- Distance between displays (if using multiple units)
- Access to power and internet connections
- Space for media players, computers, or Wi-Fi adapters
Measure your wall height and width carefully. The typical office wall height is around 8.5 feet, but confirm these dimensions for accurate planning. Sketch your design to account for margins around the video wall, ensuring the final aesthetic looks cohesive.
You’ll also need to know the weight of your video wall system, including frames, displays, and cables. This is crucial for ensuring that your wall can support the load. It is highly recommended that you hire a professional installation company.
Create a schematic of your video wall so you have a good idea of how it will look once installed.
Addressing Potential Hazards When Installing Your Video Wall
Video walls are a crucial part of manufacturing digital signage, helping factories display key production and safety information while maintaining workplace safety. Here are some common hazards and considerations:
-
Sharp corners: Ensure the structure doesn’t have sharp corners that people could run into.
-
Freestanding video wall: If the structure is freestanding, ensure it’s secured to prevent tipping.
-
Cable management: Stow power cables and cords away to avoid trip hazards.
-
Power consumption: Check if your wall socket can handle the video wall's electrical needs.
-
Ventilation and cooling: Some video walls require proper airflow to prevent overheating. Ensure enough space behind the displays for ventilation.
These precautions help avoid safety issues and ensure the video wall functions appropriately.
Method 1: Keep it Simple with One Screen
Building a video wall used to mean assembling a grid of displays, but this task has become more straightforward thanks to the advancement of large LED screens. For example, Samsung’s "The Wall Luxury," a 292-inch (24-foot) MicroLED screen at 8K resolution, is one of the most extensive single-screen solutions available today.
However, the price tag for such a large screen is hefty—around $1.5 million, including installation. A grid-style video wall might be more budget-friendly if your needs are more minor. For most projects, a 98-inch display is the largest single screen available (about 7 feet wide and 4 feet tall), easily filling a substantial wall space.

This is roughly what your largest display in 2025 will look like up on a wall.
Connecting a Media Player to Your Video Wall
You'll need a digital signage media player to display video content. We recommend using a specialized media player, such as the Intel NUC, designed for this purpose. These compact devices are built for displaying content on large screens and can easily be mounted on the back of your display using double-sided Velcro. You can also hide the media player in a nearby cabinet or ceiling.

We recommend the Intel NUC Media Player
The nice thing about media players like the Intel NUC is that they can be attached to the backside of the display using double-sided velcro.

Most media players are small enough that they can be velcroed to the back of your display
Use Rise Vision for a professional digital signage experience. As a cloud-based content management system, it simplifies broadcasting video walls, slideshows, and signage to your display. Rise Vision is easy to set up and manage, and it can save your team up to 16 hours a week on content creation and scheduling.
This video will guide you on how to install Rise Vision for a single display digital signage system:

If you still want to go the do-it-yourself route, we have some articles that will help you:
Method 2: Building a Video Wall Display Grid
For more enormous video walls, the grid-style setup is the traditional method. Here's what you need to do:
Choosing Displays and Mounting Hardware
After determining the dimensions of your video wall, choose displays and mounting hardware that fit your space. Mounting frames typically accommodate a range of screen sizes. For example, the Peerless 3x3 Video Wall frame can hold displays from 46” to 55” in diagonal size. Ensure you use the displays' correct dimensions (height and width), not just the diagonal.

Peerless 3X3 Video Wall can accommodate displays that range between 46” to 55” diagonal screen sizes.
Professional Installation
This method requires careful configuration and setup, so professional installation is highly recommended. Properly mounting the video wall is crucial for its safety and functionality.
Measuring and Setup
While professionals will handle most of the setup, measuring the mounting frames and display locations is still a good idea to confirm everything fits as planned. Ensure the mounting frame doesn’t block access to the cables or connectors for easy servicing.

Knowing your mounting frame dimensions will help you envision how the overall installation will look when finished. Locate the display mounting holes in the frame so you can gauge what the complete set up will look like.

Once you’ve measured all the mounting holes and frame dimensions, you can overlay your monitor dimensions to get an idea of how the completed assembly will look
Method 3: Using a Projector for Your Video Wall
Sometimes, a projector can be a cost-effective video wall creation solution. Projectors are often more affordable than large screens and can deliver impressive visuals. When using a projector:
-
Install it on the ceiling for optimal viewing.
-
Know the throw ratio to calculate the correct distance between the projector and the screen.
-
Ensure proper ventilation since projectors can get very hot.
Consult your IT or facilities team to install the projector properly, ensuring safety and effective performance.
Know Your Projector’s Throw Ratio
Knowing your projector’s throw ratio will help you determine the distance your projector needs to be from the wall or screen. To determine the distance you need to set your projector away from your wall or screen, take the screen's diagonal width and multiply it by the minimum value listed as your throw ratio.
For example:
Screen size: 100”
Throw Ratio: 1.85
Distance from screen = 100” x 1.85 = 185” (inches) or 15 feet, five inches

All projectors come with a throw ratio. You can use this ratio to determine your projector mounting location.
During installation, it will be crucial that you test your projector to make sure the image that’s displayed on the wall is centered and not tilted in any off-direction. The projector mounting hardware will have to be adjusted carefully to make sure the picture is perfectly aligned. Many projectors will have a testing grid setting that will project a grid image onto your screen or wall. You can use this setting to adjust your projector alignment.

Your projector may have a grid mode that will help you align your picture during installation. The above grid will be projected onto your screen or wall when this mode is selected.
Installing The Media Player
A media player should ideally be installed close to the projector. Otherwise, if you stow it far from the projector, you’ll need to run cables further away. Longer cables usually increase project costs.
Again, consult your IT or facilities team to see if they can install the media player. Most media players are lightweight, so mounting them to the ceiling should be straightforward.
Just as you would connect an HDMI cable to your media player while plugging the other end into your display, in this scenario, you’ll be plugging the other end of the HDMI cable into the projector.
Turn on your media player and your projector. See if you can produce an image on your screen or wall. If you can, you’re in business!
Don’t Forget The Audio!
No video wall is complete without sound! Many media players have audio output options, but you may need to connect external speakers. Test different speaker placements to optimize the room’s acoustics.

How to Set Up Rise Vision if You’re Using a Projector
Rise Vision makes managing your video wall effortless. Whether you choose a single screen, display grid, or projector setup, Rise Vision’s free digital signage system simplifies content management and scheduling. Start your free trial today to experience how easy it can be to manage your video wall.
Other Posts You May Find Useful:
More From Our Blog
-
Digital Signage Best Practices for Schools and Organizations
Effective digital signage starts with legible design, accessible contrast, and content that matches your viewing environment. Keep screens current with a content plan, make updates simple enough for[…]
Read More -
OptiSigns Pricing in 2026: Plans, Add-Ons, and What It Really Costs
OptiSigns' paid plans run $10–$45/screen/month ($9–$40.50 on annual billing). Add-ons for wireless presentation and video walls aren't included in any base plan, and phone support requires an upgrade[…]
Read More -
Yodeck Pricing: Plans, Costs & What Changed in 2026
Yodeck bills per-screen with no ceiling (free up to $16/screen/mo) so costs rise with every display added. 2026 Price Increase: Yodeck raised Premium and Enterprise plans by $1/month per screen,[…]
Read More
12,300+ Organizations Trust Rise Vision, You Can Too


Schedule a Free Demo
You deserve the #1 all-in-one platform for digital signage, screen sharing, and emergency alerts.


