
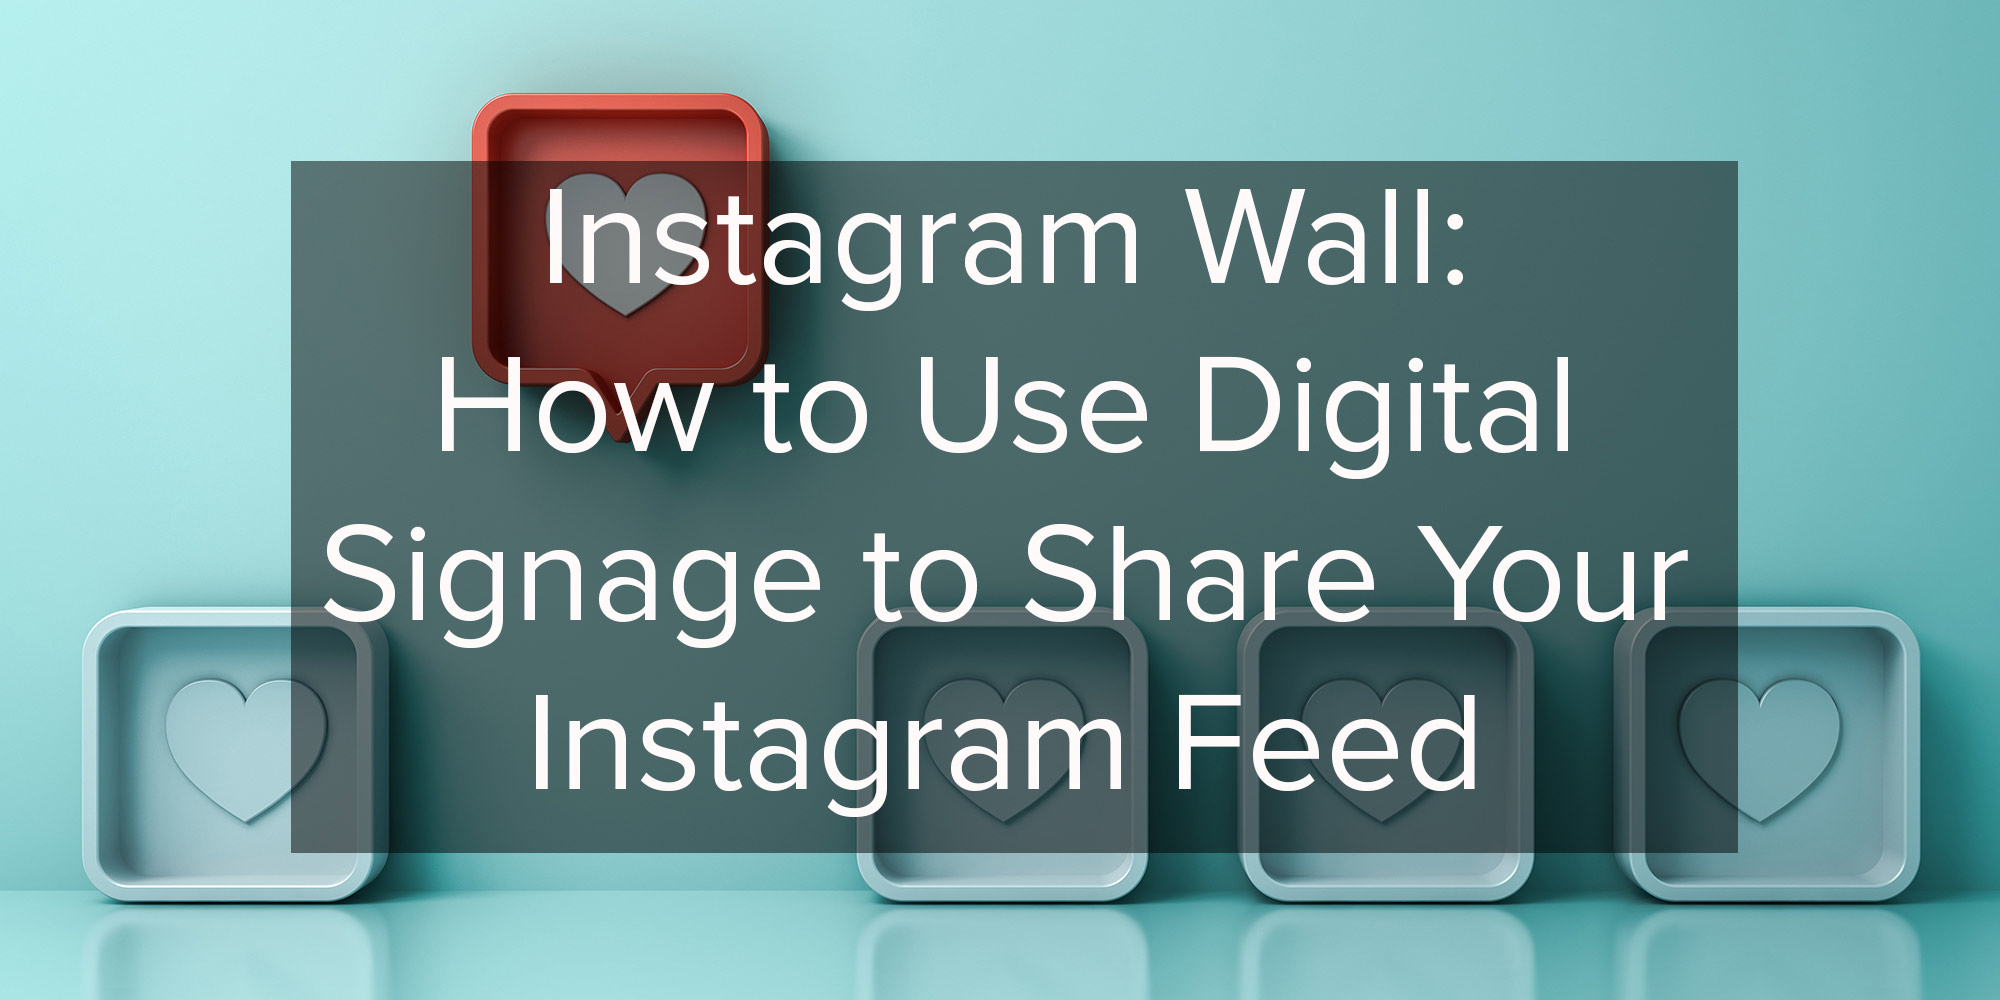
Overview
We all know using social media is a great way to promote your brand or organization, and a great way to curate a sense of community. If you’re not convinced of the effectiveness of social media marketing, here are some powerful statistics that might change your mind:
- 71% of consumers are likely to purchase something based on social media referrals
- 93% of Americans expect companies to be on social media
- 74% of consumers actively rely on social media when they’re making a purchase decision
- Revenue increases for 24% of businesses when they use social media marketing
So with these numbers in mind, what can you do to promote your social channels and expand your count of loyal brand followers?
Digital signage is one of the best tools for communicating visually, and with Instagram being such a visual-heavy platform, the two go hand-in-hand very nicely. In this post, we’ll teach you to create an Instagram wall for your digital signage using a free social wall tool called Social Media Wall. Keep your audience updated and engaged with your Instagram posts in real time, and increase the return on your time investment on social media.
What is a social wall?
A social wall is a gathering of social posts that are displayed neatly in a grid form and update in real time. The information is typically aggregated using a tool specifically for social walls, like Walls.io, Everwall and others, and your display grid can be customized to include multiple social channels, to pull in content with specific hashtags, and even moderated for keywords or user access.
Social walls work well for events that use a specific hashtag like a conference or wedding, and they’re also good for encouraging your audience to promote your brand by giving them an opportunity to see their content appear on your social wall. If you’re using a social wall that pulls in a specific hashtag, your audience can snap a photo, tag it with your hashtag, and see it appear in real time. Social walls can be embedded on your website, displayed with a projector, or displayed on your digital signage.
How to create a free Instagram wall for your digital signage
While an Instagram wall is an appealing visual element and a good way to share your updates with your audience, the tools used to create Instagram walls typically require a subscription. But, we’ve found a free service you can use in conjunction with your Rise Vision digital signage so you can have an Instagram wall up and running on a budget. Read on to learn how.
Social Media Wall: a free Instagram wall tool
Social Media Wall is a free tool you can use to create a personalized social media feed or Instagram wall, with options to upgrade to a subscription for more robust features. We’ll show you how to show you how to utilize their free option and integrate it with your digital signage, but keep in mind there are lots of options for subscription services that may also suit your needs, so we encourage you to explore.
To keep things simple, we’re going share assets that you can download and use to create a Template so you don't have to start from scratch.
1. To start, download these files:
2. Then, go to our digital signage platform and log into your Rise Vision account. Then, click on the "Presentations" tab:

If you don’t yet have a Rise Vision account, you can activate a free 2-week trial by following the prompts on the screen after you click the link above.
3. Click "Add Template":
4. Type "blank landscape" in the search bar, then click "Add":

5. Click "Add Placeholder": 6. And stretch the Placeholder to the size of the full screen:
 7. Click the "Image" icon:
8. Then, click "Upload Files" and search for the "Instagram-Gradient-Background" file you downloaded: Now, your Template should look like this:

Repeat steps 5-8, but this time, choose the "find-us-on-text" file.
Then, repeat steps 5-8 two more times to add the Instagram Logo and Bottom Banner.
9. Then, give your presentation a name by clicking where it says "New Presentation":

We're naming ours "Instagram Wall":
10. Add another Placeholder, but this time, click the "Text" icon instead of the image icon:

This is where you'll type your Instagram handle. We're using the font "Oswald" in size 90pt:
11. Next, rearrange the placeholders to the left hand side of your Presentation to look like this:

12. Then, click the green “Add Placeholder” button, and click and drag a new square on the right hand side. This is where your Instagram wall will go:

13. Click the “Properties” tab on the left, and update the width and height to be 900 and 700 respectively:

Now, your Template is ready! We’re going to move over to the Social Media Wall tool. Click on this link to create your Social Media Wall account and navigate over to the “Sign Up” tab in the upper right corner.
Create an account by filling out the required fields:

Once your account is created, click “Create new social wall” to start building your Instagram wall:

You’ll be prompted to link you social accounts:

For an Instagram wall, click “Connect” on your personal or business account, then follow the the prompts to link the account:

Select the Instagram logo:

Once you’re connected, click “Create new wall for this account”

Then click “NO, just this one account feed”

You can customize what content is pulled into the social wall on this page, but this step is optional. When you’re done click “Configure Display”:

Then click the “Display Settings” button, and choose “Customize View” from the dropdown:

We found the following settings to work the best with the “Instagram Promotion” Template we’re using, but feel free to default to your own preferences:
Main:

Grid:

Once your settings are updated, click on the “Embed” button:

Then, highlight and copy the embed code provided:

Now, we’re going to switch back to the Rise Vision Instagram Promotion Template, which will look like this:

Click on the Placeholder on the right where your Instagram wall will go:

Then, click on the Widgets icon:

In the search bar, type “HTML Widget”, the click the green “Add” button on the HTML Widget from your search result. Then highlight and delete the text in the field shown below:

Then, paste the embed code you copied from your Social Media Wall tool, and click “Save”:

Now, you should see your Instagram wall populate in the designated Placeholder. Then click the “Save & Preview” button in the upper right:

On the Preview screen, you’ll be able to see what your Template will look like in action on your Display:

Now, the last part is adding your new Template into a Schedule. Navigate to the “Schedules” tab in the upper left corner of your Rise Vision account:

Then, you can either choose from an existing Schedule you already have, or click the “Add Schedule” button to create a new one:

If you’re creating a new Schedule, give it a name, and click the “Add Playlist Item” button:

From the dropdown, choose “Presentation:

Search for your Instagram Wall Presentation, and add it to the schedule with the “Add Selected” button:

You can determine when your Presentation will play by clicking it in the playlist, and editing the settings in this popup:

After, select the Display you’d like to show your Presentation on:

Lastly, click “Save” at the bottom, and your Displays will update to show your Instagram wall Template:

And that’s it! Your Instagram wall will start showing on your Displays.

Conclusion
Incorporating your Instagram feed with your digital signage only requires a one-time setup, and after that, it’ll stay updated as you make new posts. If you’re using digital signage already or are thinking of doing so, working in your Instagram channel by using an Instagram wall will strengthen your brand presence and keep your audience engaged with fresh content. Create an Instagram wall now and have it up and running on your digital signage in under 10 minutes.
More From Our Blog
-
Digital Signage Best Practices for Schools and Organizations
Effective digital signage starts with legible design, accessible contrast, and content that matches your viewing environment. Keep screens current with a content plan, make updates simple enough for[…]
Read More -
OptiSigns Pricing in 2026: Plans, Add-Ons, and What It Really Costs
OptiSigns' paid plans run $10–$45/screen/month ($9–$40.50 on annual billing). Add-ons for wireless presentation and video walls aren't included in any base plan, and phone support requires an upgrade[…]
Read More -
Yodeck Pricing: Plans, Costs & What Changed in 2026
Yodeck bills per-screen with no ceiling (free up to $16/screen/mo) so costs rise with every display added. 2026 Price Increase: Yodeck raised Premium and Enterprise plans by $1/month per screen,[…]
Read More
12,300+ Organizations Trust Rise Vision, You Can Too


Schedule a Free Demo
You deserve the #1 all-in-one platform for digital signage, screen sharing, and emergency alerts.


