
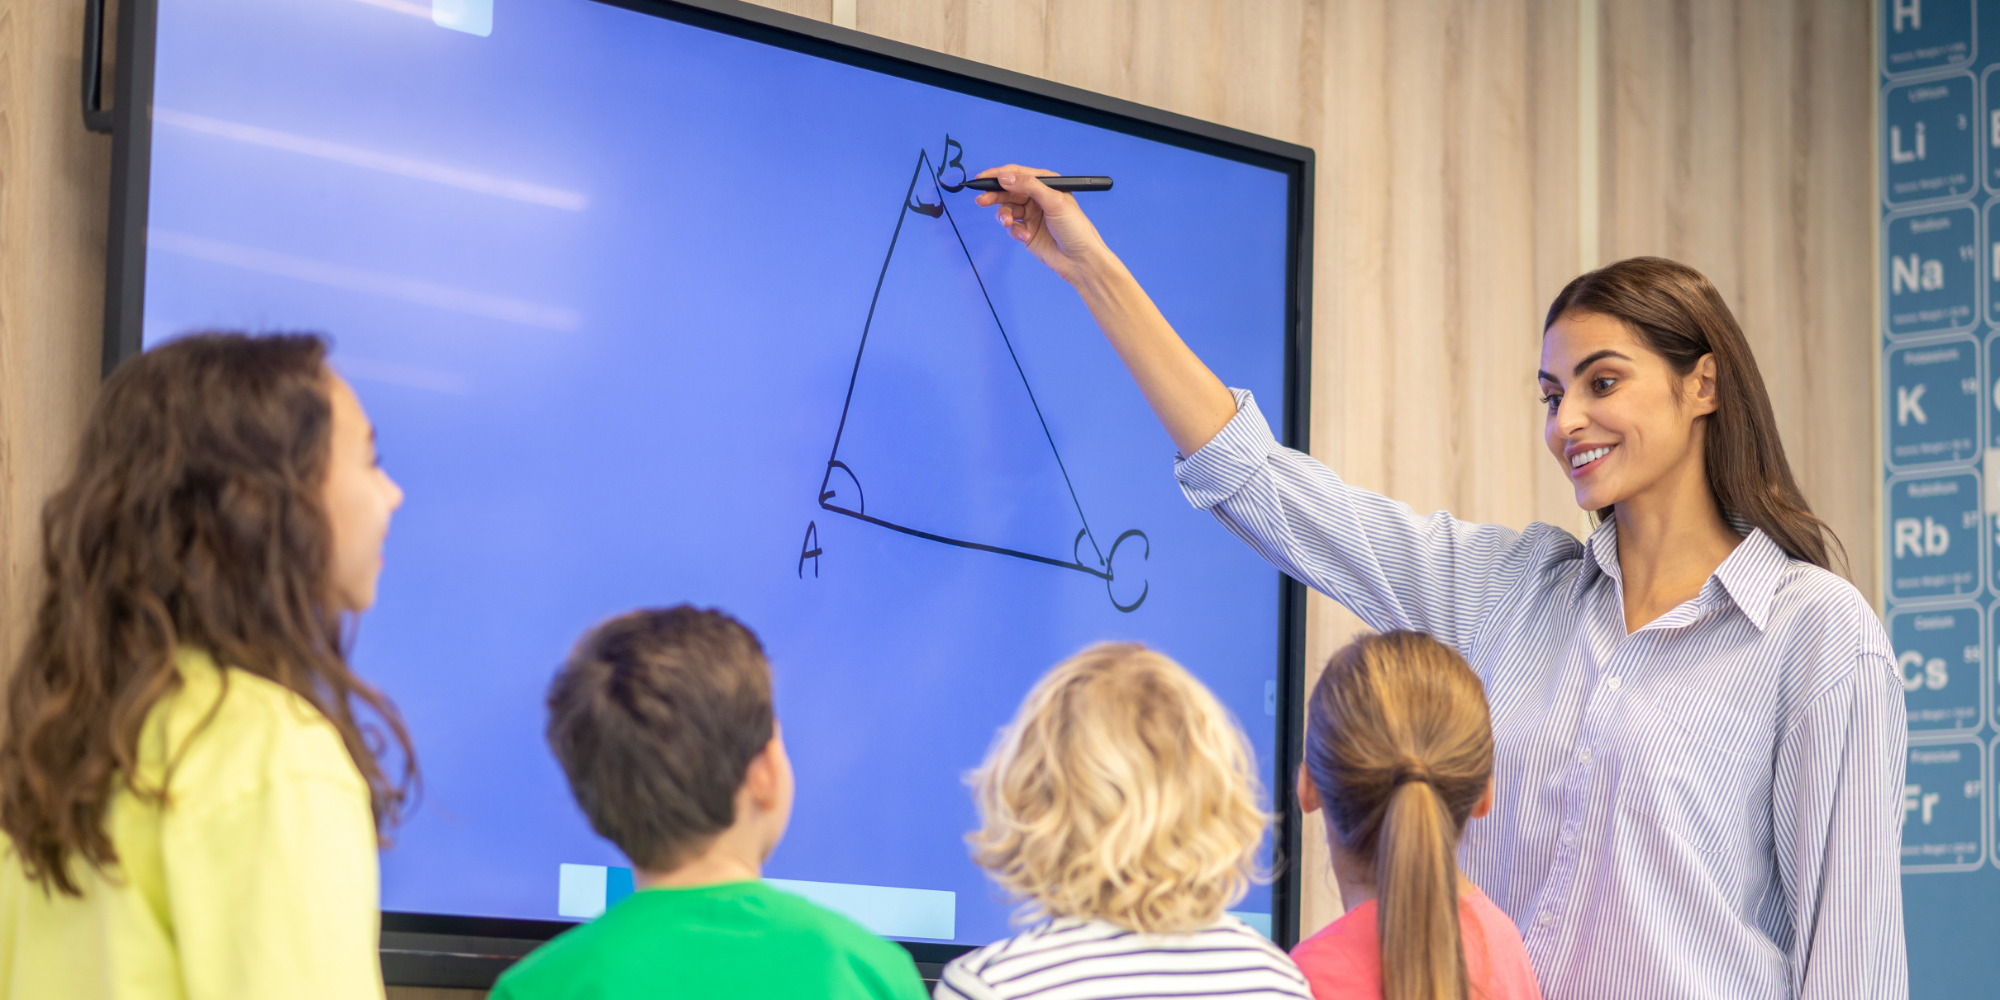
Interactive whiteboards have already changed how we teach, bringing lessons to life in ways traditional boards couldn’t. But when you add screen sharing into the equation, things really start to improve. Rise Vision’s screen-sharing feature helps you make the most of your interactive whiteboard, making it even more versatile and engaging.
What is Screen Sharing for Interactive Whiteboards?
Screen sharing lets you display whatever’s on your device to the interactive whiteboard. Teachers can quickly share slides, videos, websites, or any other content with the class. Rise Vision makes this process smooth and simple, without any complicated setup. You just connect, and everything appears on the screen instantly.
It’s quick, easy, and designed to let you focus on teaching without any tech hassles.
Why Add Screen Sharing to Your Interactive Whiteboard Setup?
Interactive whiteboards are great, but combining them with screen sharing makes them even better. Here’s why:
Share Any Content, Anytime
Need to jump between slides, a video, or a website during a lesson? With Rise Vision, you can share whatever you need with just a couple of clicks. You won’t waste time fumbling around with devices or cables.
Encourage Collaboration
Screen sharing isn’t just about what you’re showing; it’s about who gets to share. With Rise Vision, students can also take control of the screen, giving them a chance to show their work or explain their ideas. This helps keep the class interactive and engaging, rather than just passive listening.
Works Across Devices
Rise Vision works with multiple platforms, so whether you're using a laptop, tablet, or phone, you can easily connect to the whiteboard. This flexibility ensures it’s easy to use, regardless of your classroom setup.
Why Rise Vision is a Great Fit for Teachers
Rise Vision’s screen-sharing tool is built with teachers in mind. It makes the tech part easy, so you can get back to what matters most—teaching.
1. No Complicated Setup
Rise Vision’s screen-sharing feature is easy to install and use. After downloading the app, simply connect your device to the whiteboard and start sharing. No need for any technical expertise—just get it set up and go.
2. Boost Engagement
Students are more likely to stay focused when lessons are interactive. By sharing videos, real-time websites, or other dynamic content, you keep things fresh and engaging. Rise Vision helps make that transition seamless, so you don’t miss a beat.
3. Increase Student Participation
Letting students share their screens isn’t just fun—it’s educational. With screen sharing, students can step in and show their ideas, turning the lesson into a collaborative experience rather than a one-way flow of information.
4. Security You Can Count On
When it comes to screen sharing, security matters. Rise Vision lets you control who shares content, so you don’t have to worry about unauthorized access or distractions. It’s safe and simple to manage.
How to Set Up Screen Sharing with Rise Vision

Getting Rise Vision up and running is straightforward. Here’s how:
- Connect Your Device: Make sure your interactive whiteboard is linked to your device. Whether it’s a laptop, tablet, or phone, it’s simple to connect.
- Install the App: Download and install the Rise Vision app on your device. It’s available for both Windows and Mac.
- Select the Display: Once the app is installed, choose the interactive whiteboard as your display option. You’ll see it pop up right on your screen.
- Start Sharing: Hit “Start Sharing,” and your content will show up on the whiteboard in an instant. It’s that easy.
Tips for Using Screen Sharing in Classrooms
Here are a few tips to help you get the most out of screen sharing:
1. Organize Your Content
Before starting your lesson, make sure everything you need to share is ready. Have your slides, videos, and websites lined up so you don’t waste time looking for them while the class is waiting.
2. Let Students Share
Give students a chance to share their screens, too. This helps them feel more involved and adds an extra layer of interaction to the lesson. It’s a great way to encourage participation.
3. Stay in Control
As a teacher, you should be in control of what’s shared. Rise Vision lets you easily manage who can share their screen at any given time, so the lesson stays on track.
4. Use the Interactive Features
Don’t forget to take advantage of the interactive features on your whiteboard. Annotate directly on the screen to explain concepts or make the lesson more visual. It can help students understand better and stay engaged.
The Bottom Line
Screen sharing for interactive whiteboards makes your classroom more dynamic and collaborative. With Rise Vision's free digital signage software, sharing content, collaborating with students, and keeping everyone engaged becomes effortless.
By adding Rise Vision’s screen-sharing tool to your setup, you’re not just enhancing your tech – you’re improving the way your classroom learns and interacts. Ready to see the difference? Try Rise Vision today and unlock the full potential of your interactive whiteboard.
More From Our Blog
-
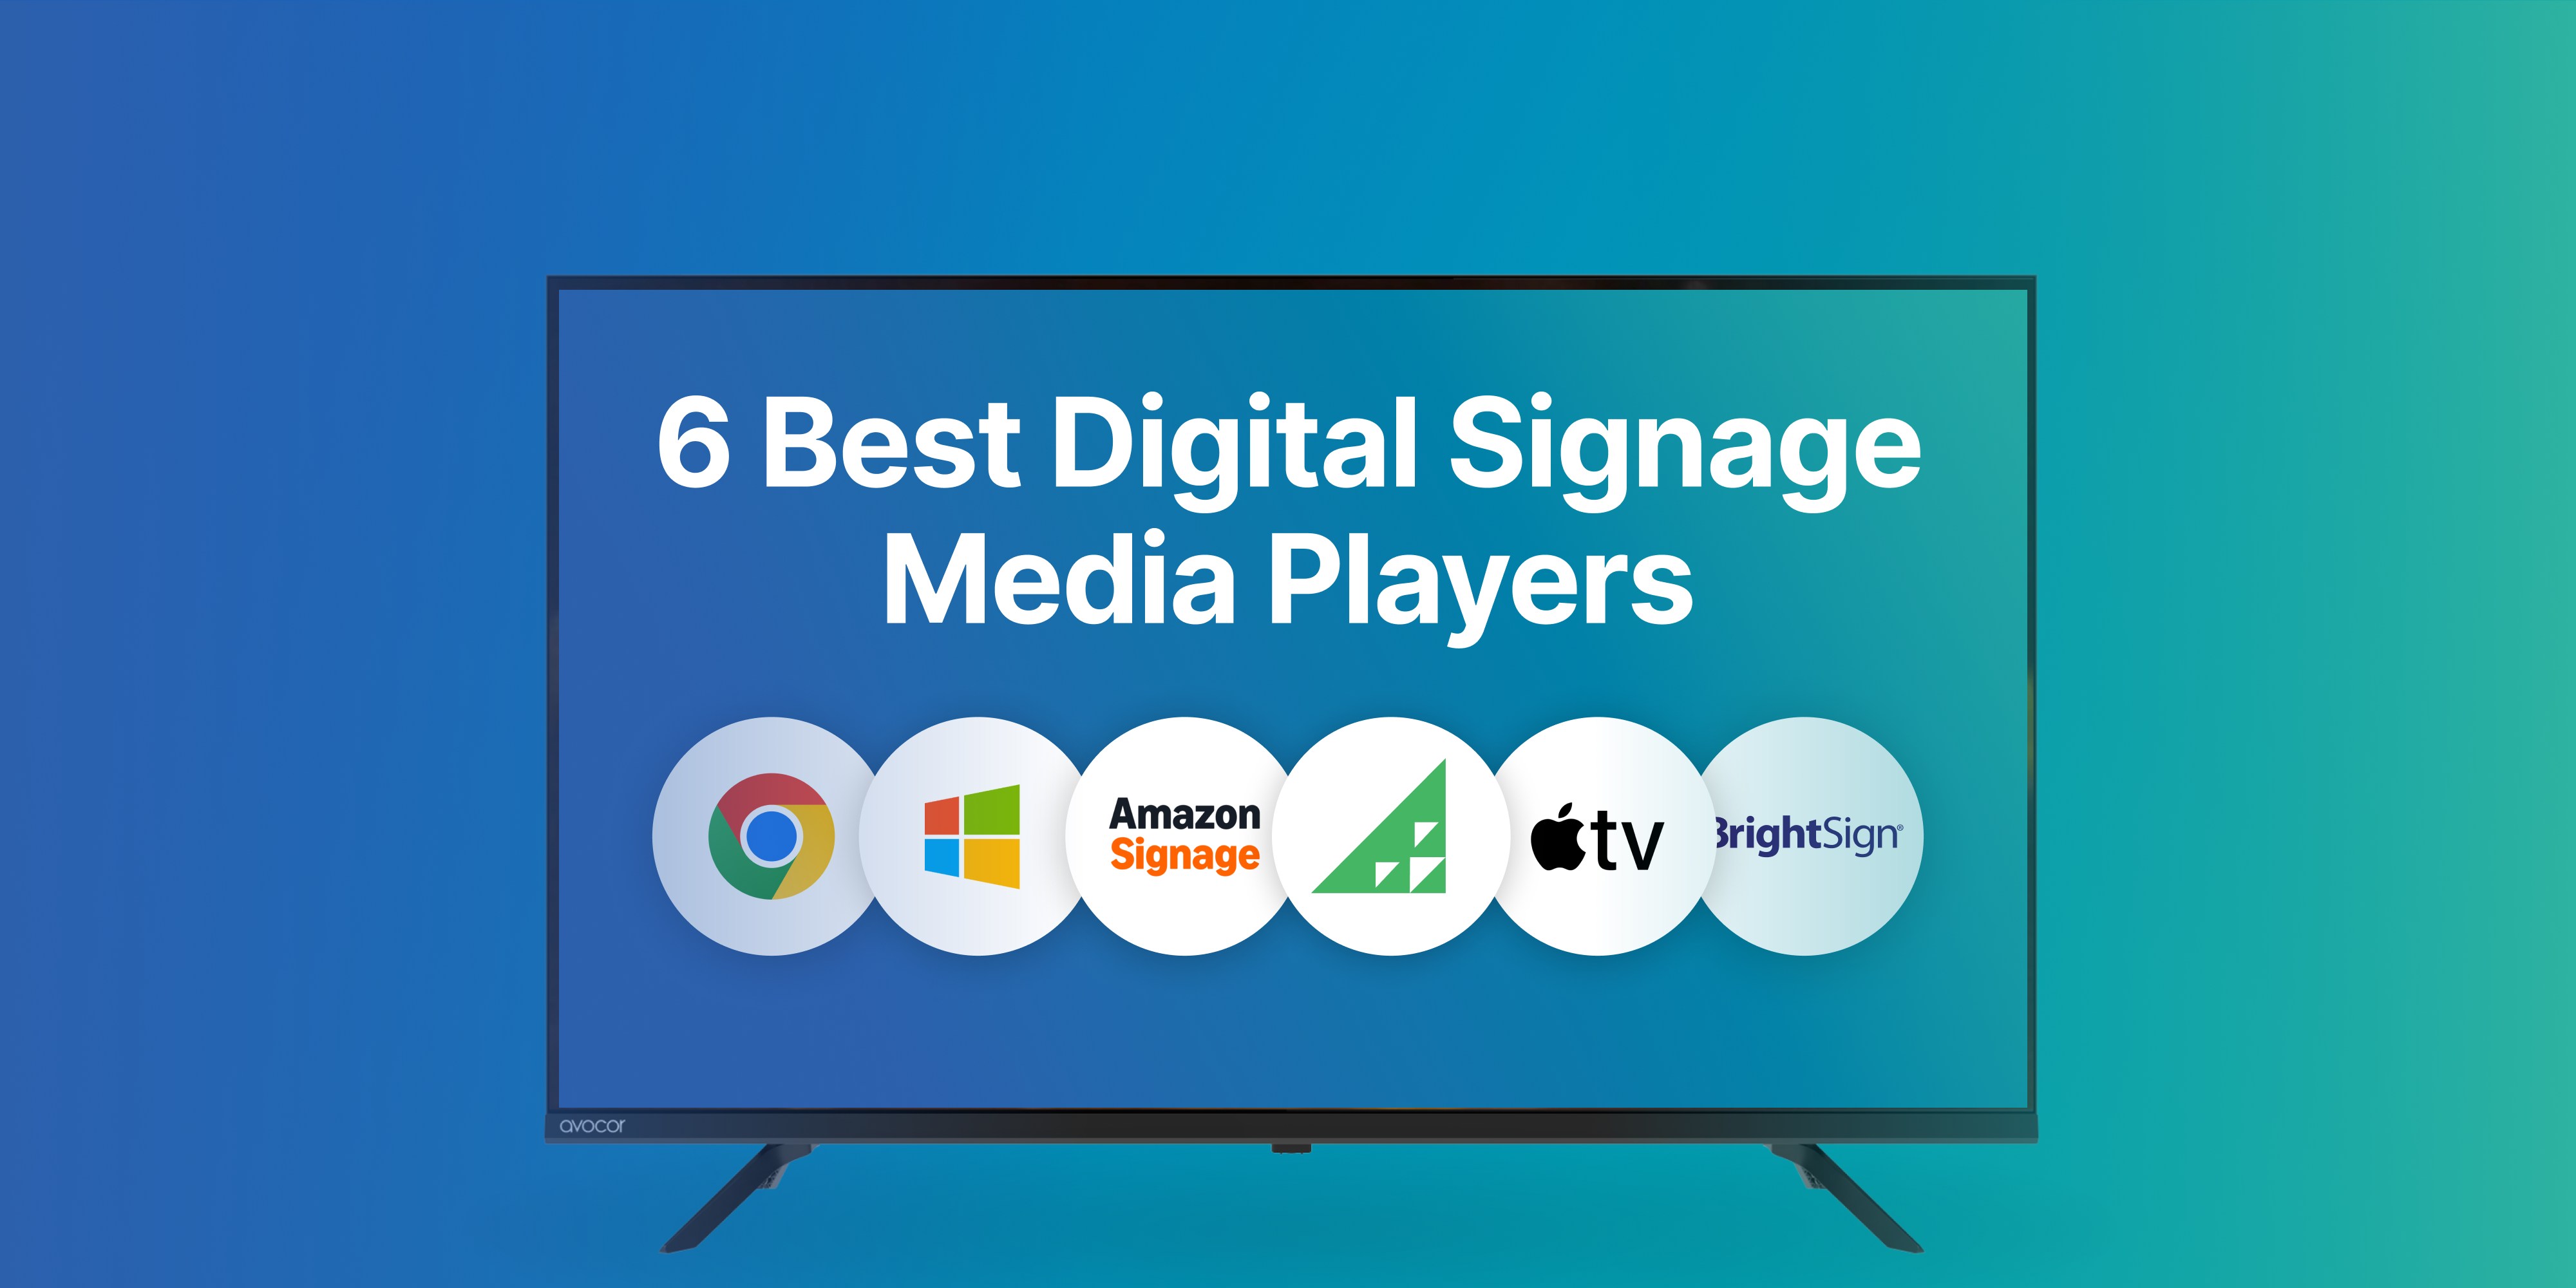
6 Best Digital Signage Media Players Compared for 2026
Your digital signage setup is only as reliable as the hardware running it. You can have the most advanced software, polished templates, and perfectly scheduled playlists, but none of that matters if[…]
Read More -
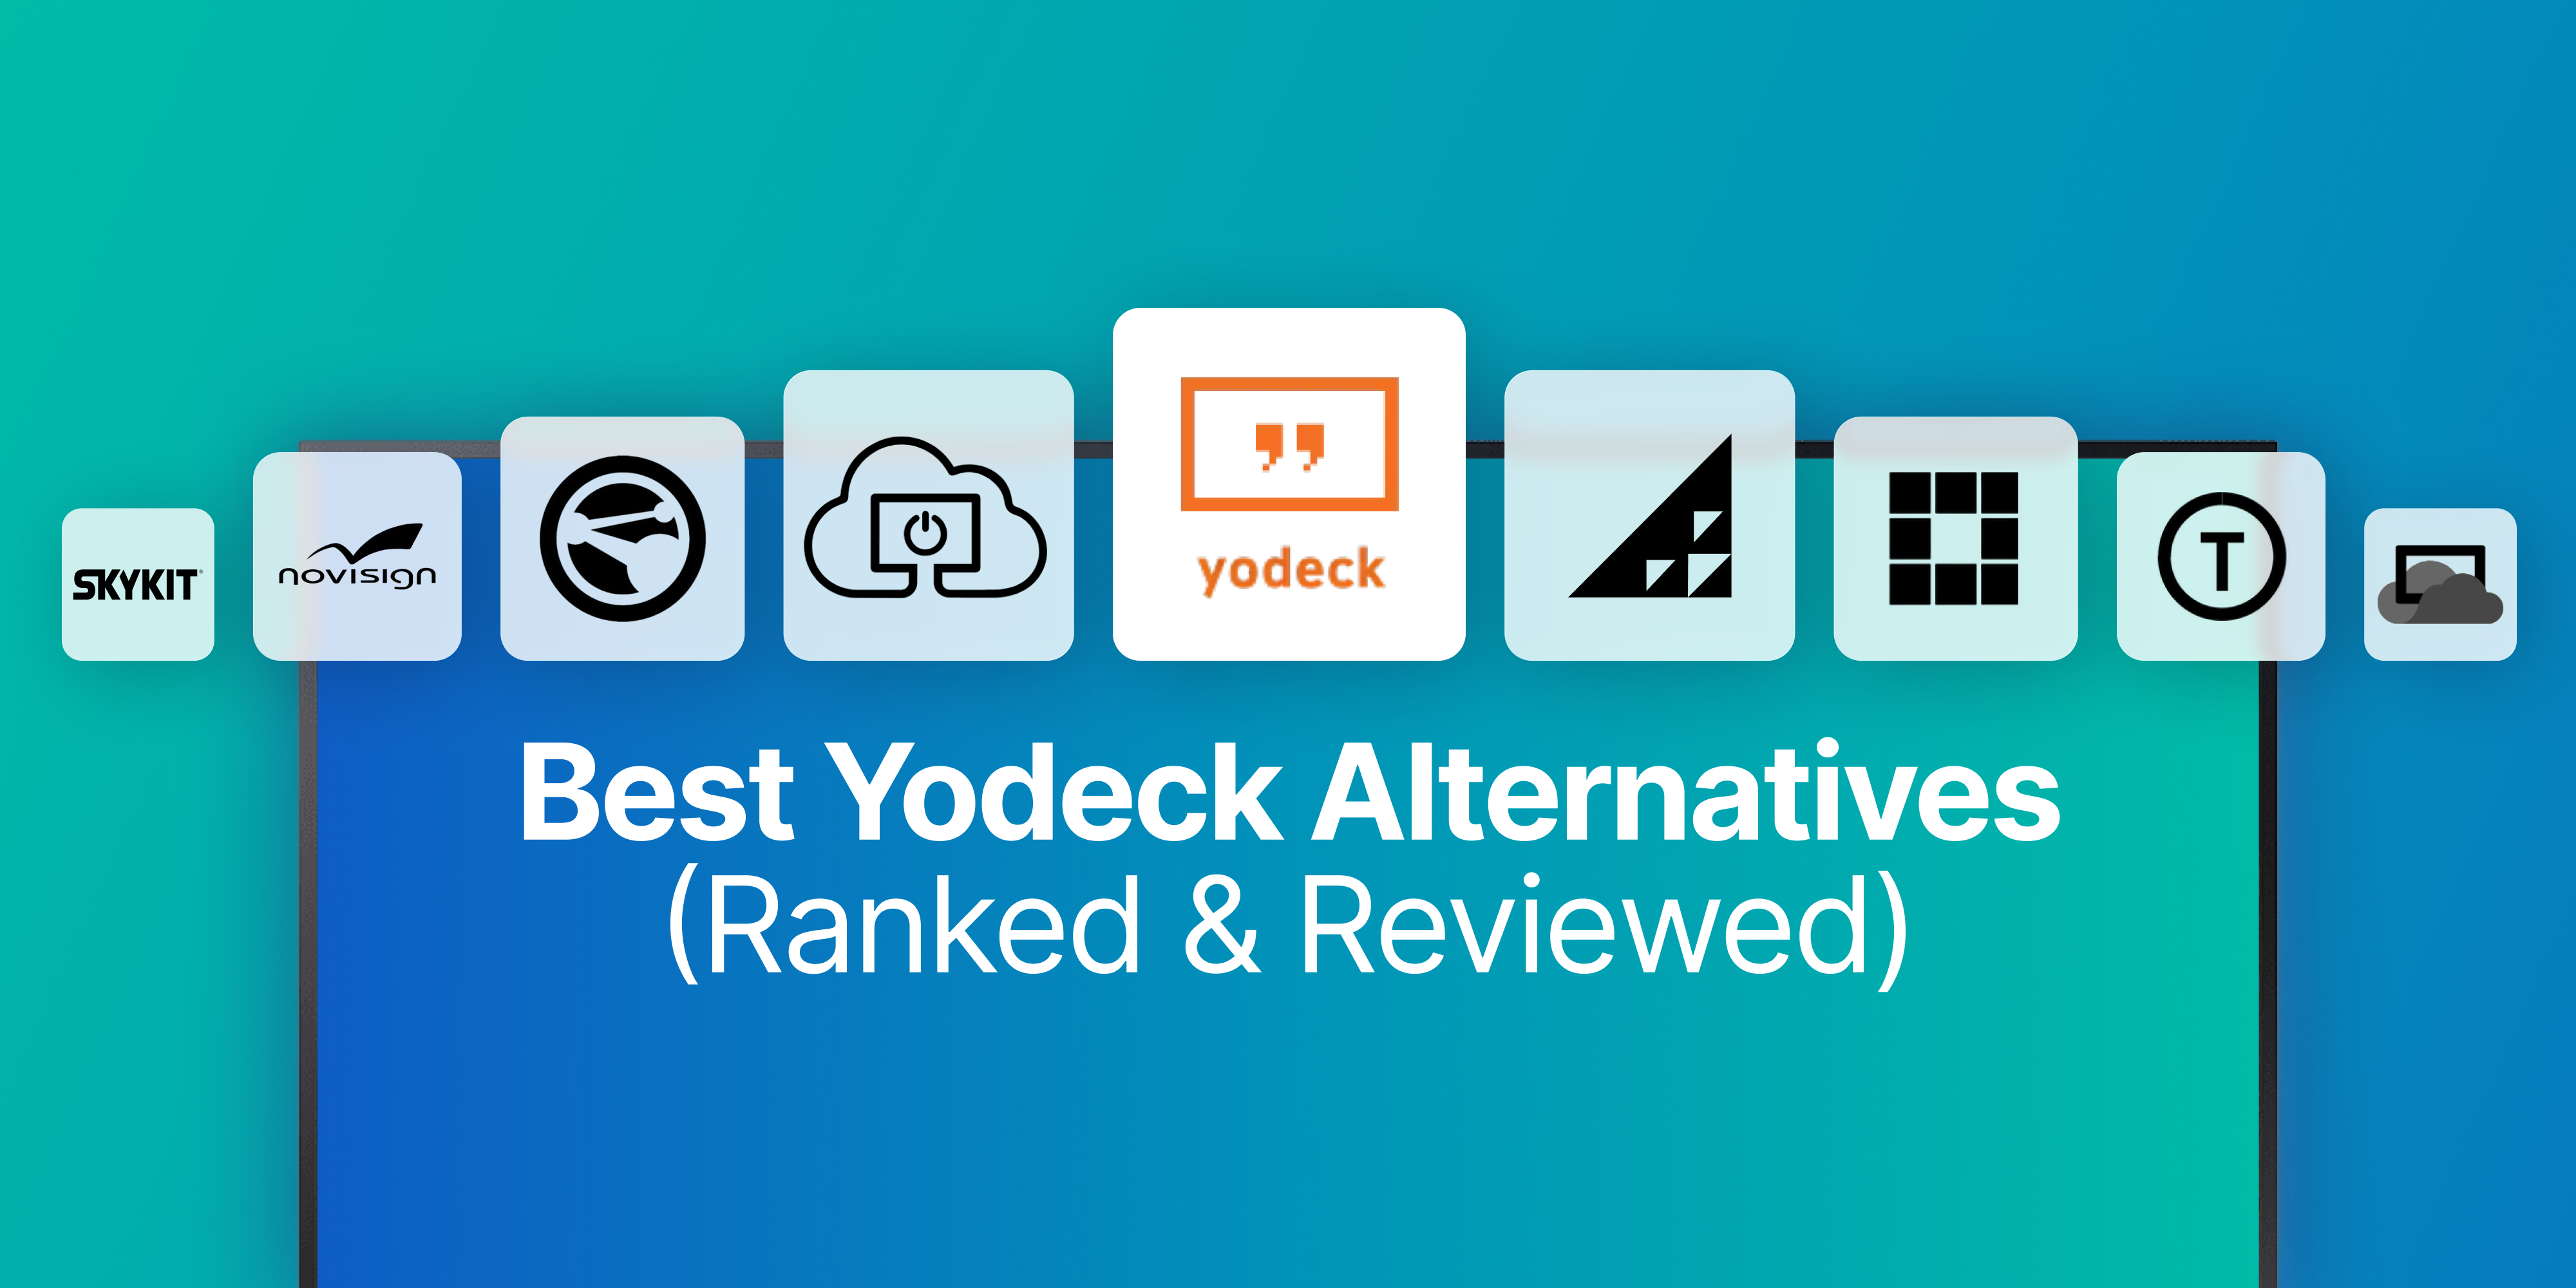
The 8 Best Yodeck Alternatives in 2026 (Ranked and Reviewed)
If you're reading this, something about Yodeck probably isn't working. Maybe it's the Apple TV experience. Maybe it's the lack of native screen sharing. Or honestly, you might just be shopping around[…]
Read More -
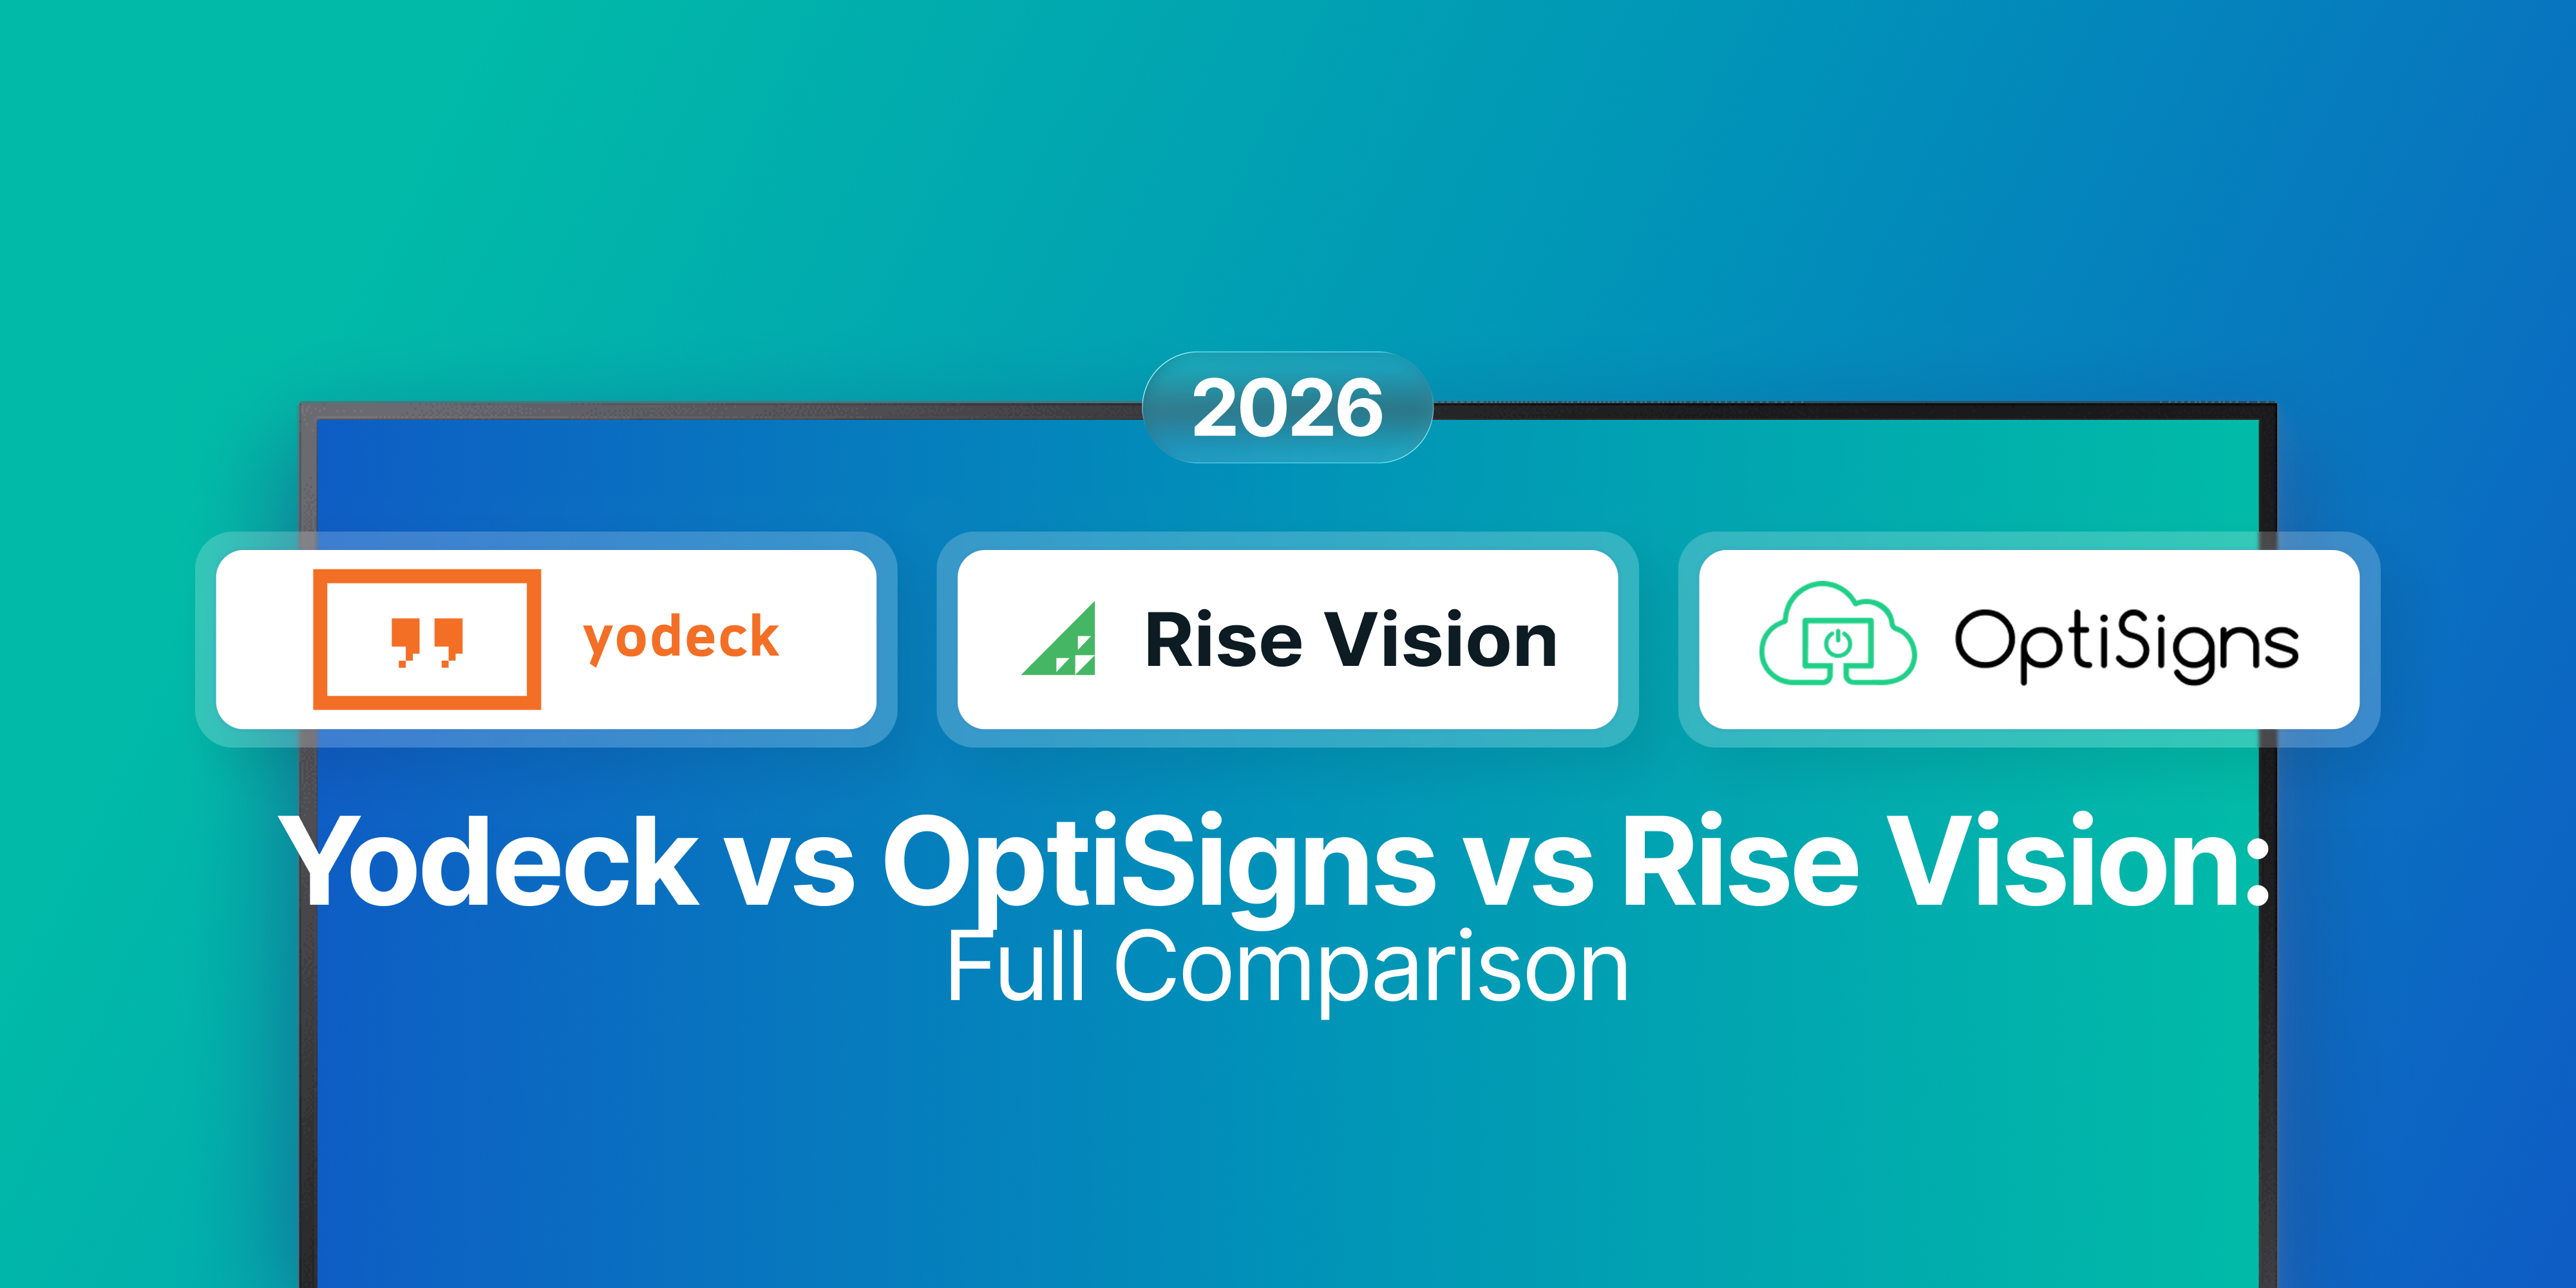
Yodeck vs OptiSigns vs Rise Vision: Full Comparison for 2026
We compare Yodeck vs OptiSigns vs Rise Vision across pricing, hardware support, customer service, and platform features. Yodeck offers a free plan for one screen, while OptiSigns includes up to three[…]
Read More
12,300+ Organizations Trust Rise Vision, You Can Too


Schedule a Free Demo
You deserve the #1 all-in-one platform for digital signage, screen sharing, and emergency alerts.


