
Raspberry Pi is a complete personal computer built into a compact keyboard. It was created to be an affordable computer for school aged students to learn to program on. It is low cost, portable and an ideal plug-and-play option for schools and organizations operating digital signage with primarily text and image content.
Rise Vision has supported the Raspberry Pi since 2013. What started out as a project in our community has grown into a full featured digital signage player that is maintained by Rise Vision. Our Raspberry Pi for digital signage software has been used by organizations all over the world to power thousands of digital signs over the last eight years.
This blog will cover how to use Raspberry Pi for digital signage and will include the below topics:
- What you need for Raspberry Pi digital signage projects and where to buy it
- Selecting your Raspberry Pi digital signage software
- Setting up the Raspberry Pi
- Limitations of the Raspberry Pi
- Advantages of the Raspberry Pi
- Using Raspberry Pi for Digital Signage with Rise Vision
What You Need for Raspberry Pi Digital Signage Projects and Where to Buy It
What to purchase
Here’s what you need to purchase for a successful Raspberry Pi digital signage project:
- Raspberry Pi Model 3B, 3B+, 4B, or the NEC Compute Module
- A case with ventilation holes or an aluminum heatsink case
- A high speed 16 GB+ class 10 microSD card
- An official Raspberry Pi power supply. Power supplies that are not from Raspberry Pi can cause problems
- A micro SD card reader/writer (your computer might have one built in)
- A display
- A micro HDMI cable
- An ethernet cable
- A mouse and keyboard

Raspberry Pi 4 Model B with heatsink case
Where to Purchase
Raspberry Pis are easy to find and there are distributors all over the world. Some of the places our customers have purchased them from are:
If you’re interested in a great all in one solution, SHARP/NEC offers MultiSync Message Series Large Format displays in 43-65” that can be used with a Raspberry Pi Compute Module. These are available through CDW and many local AV companies.
Selecting Your Raspberry Pi Digital Signage Software
Content
Content is what makes or breaks a digital signage project. When evaluating content management software for your Raspberry Pi, make sure the system you select has the content options you need. Here’s what you’ll want to consider:
- Integrations with weather and popular tools like Google Calendar and Google Slides
- A selection of pre-designed engaging templates to make keeping your displays engaging, easy and fast
- Easy to use software that allows you to delegate updating your displays to less technical users

Digital signage weather template, perfect for use with a Raspberry Pi
Features
Display Control
One of the benefits of the Raspberry Pi is that it consumes very little energy, which helps lower your costs and it’s good for the planet! You’ll also want your digital signage software to support display control, a feature that automatically turns off your display after normal business hours. With this feature, at 5 o’clock when everyone leaves school or the office, all of your displays will turn off and save you even more power.
Remote Commands
The ability to remotely reboot your Raspberry Pi and restart your digital signage player are important capabilities in case a problem occurs and you need to take immediate action. If you’ve hung your signage out of reach, having the ability to send remote commands is the difference between finding someone to climb up on a ladder and simply clicking a button on your personal computer.
Support
Make sure the digital signage provider you choose offers phone and email support within a reasonable response time. The benefit of picking an organization with fast technical support is that if your end users encounter a problem, they can reach out to support instead of bogging down your internal IT team.
Setting up the Raspberry Pi
Step 1. Create a Rise Vision Account
Create your Rise Vision account and follow the onboarding instructions.
Step 2. Flash Your SD Card with the Latest Raspberry Pi Operating System and Insert it into the Raspberry Pi
- Download the Raspberry Pi OS with recommended software image from Raspberry Pi
- Extract the image from the ZIP file
- Insert the SD card into your computer
- Download Etcher - a great tool for flashing SD cards
- Follow the three steps in Etcher to flash your SD card
- Once it’s finished, insert the SD card into your Raspberry Pi
Step 2. Attach the Raspberry Pi and the Case
Follow the instructions provided to attach your Raspberry Pi to the case. Make sure the Raspberry Pi isn’t loose and doesn’t shake when you move the case.
Step 3. Connect the Raspberry Pi to Your Peripherals
Connect your Raspberry Pi to your official power adapter, your display, the internet and your mouse and keyboard. The system will automatically login and show you a welcome image.
Step 4. Configure the Raspberry Pi
- Follow the wizard to configure the basic settings
- Update the password for the Raspberry Pi and select auto login (detailed instructions here)
- Disable overscan
Step 5. Install Rise Vision
Head over to our help center article for instructions on how to install the Rise Vision player.
Limitations of the Raspberry Pi
While using the Raspberry Pi 4 as a media player is a major improvement over previous models, it still occasionally struggles with intensive content like videos and animation. Some of our customers have had success displaying video if it’s been formatted to 720p. If you’re planning on showing video, a lot of animation, or rendering lots of data on your display, we recommend a more robust media player. Our partner the BookPC offers a wide range of digital signage media players with Rise Vision pre-installed that handle intensive content well.
Uptime and reliability is very important to us at Rise Vision, so we want to make sure your hardware capabilities match your content needs. With that said, if all you need is to show are a few templates, images, and basic content, the Raspberry Pi 4 is a great digital signage media player!
Advantages of the Raspberry Pi
Low Cost
The number one benefit of the Raspberry Pi is that it’s one of the lowest cost digital signage media players on the market. This has made the Raspberry Pi a popular choice for non-profit organizations, schools, and businesses.
Reliable Solution
There are more than 10 million Raspberry Pis sold across the world and thousands of Rise Vision displays powered by this device.
Low Energy Consumption
The Raspberry Pi consumes very little energy, further reducing the cost and environmental impact of digital signage.
Easy to Purchase
There are stores all over the world that offer the Raspberry Pi, so you won’t have to worry about not being able to add additional displays to your network.
No Proprietary Hardware
The Raspberry Pi can be used with many digital signage solutions on the market, so you don’t have to worry about getting stuck with hardware that only works with one provider. Plus, you can always use a Raspberry Pi for hundreds of other projects, including a full-fledged desktop computer, home automation system, a Smart TV and a retro gaming system.
Using Raspberry Pi for Digital Signage with Rise Vision
Rise Vision is the leader in Raspberry Pi digital signage. We make it easy for schools and organizations to create a Raspberry Pi digital signage system. Thanks to the countless hours the community spent experimenting with using Raspberry Pi to power digital signage projects, a signage solution was created that the entire world can use. The benefits include a customer service team with a 98.2% satisfaction rating, simple to use solution and professionally designed templates that can be personalized in just a few minutes.
Raspberry Pi is a small, affordable computer that can be used for many purposes including digital signage. If your school or organization wants to learn more about how to use Raspberry Pi for digital signage projects, get started with a 14-day free trial of Rise Vision today.
More From Our Blog
-
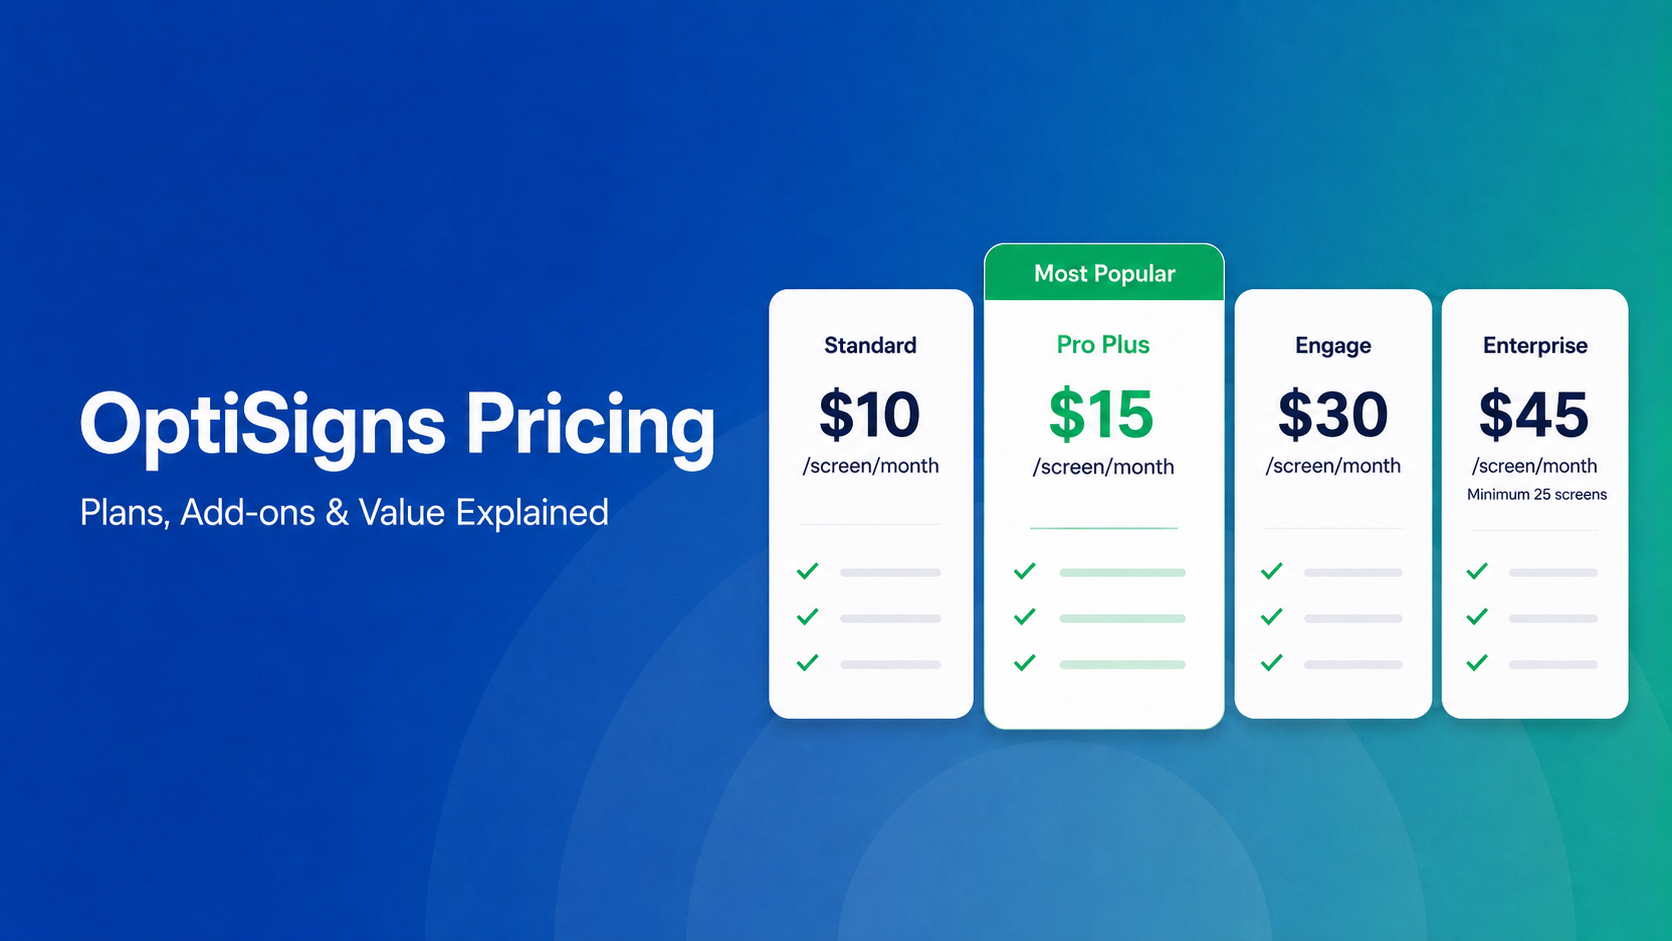
OptiSigns Pricing in 2026: Plans, Add-Ons, and What It Really Costs
OptiSigns' paid plans run $10–$45/screen/month ($9–$40.50 on annual billing). Add-ons for wireless presentation and video walls aren't included in any base plan, and phone support requires an upgrade[…]
Read More -
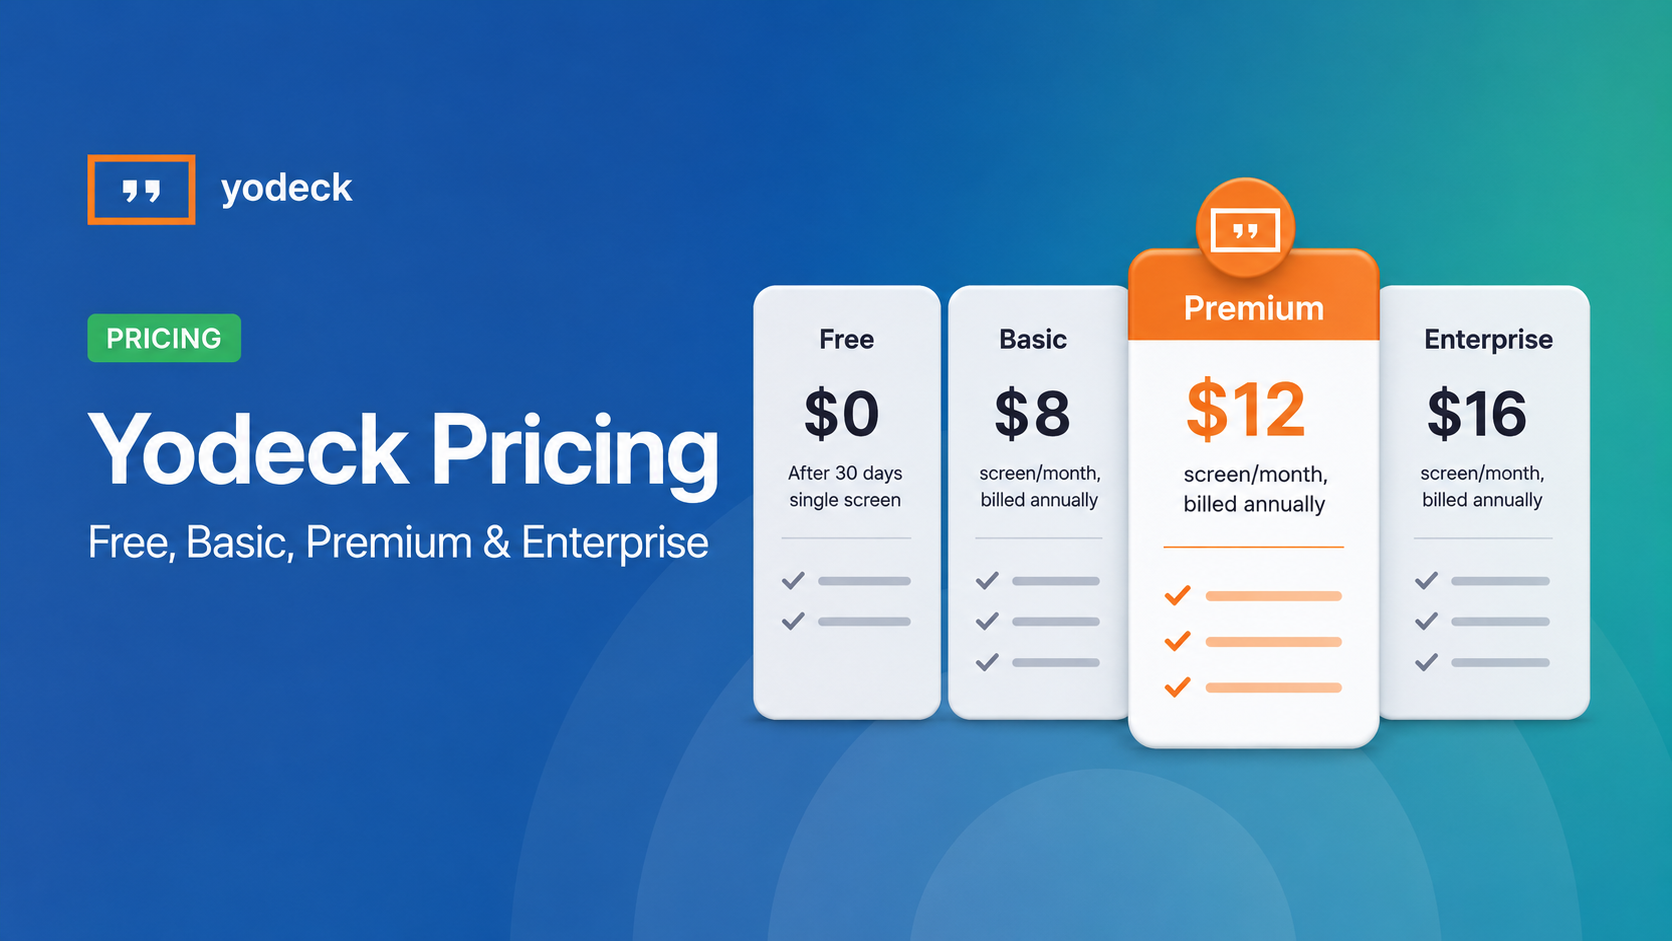
Yodeck Pricing: Plans, Costs & What Changed in 2026
Yodeck bills per-screen with no ceiling (free up to $16/screen/mo) so costs rise with every display added. 2026 Price Increase: Yodeck raised Premium and Enterprise plans by $1/month per screen,[…]
Read More -
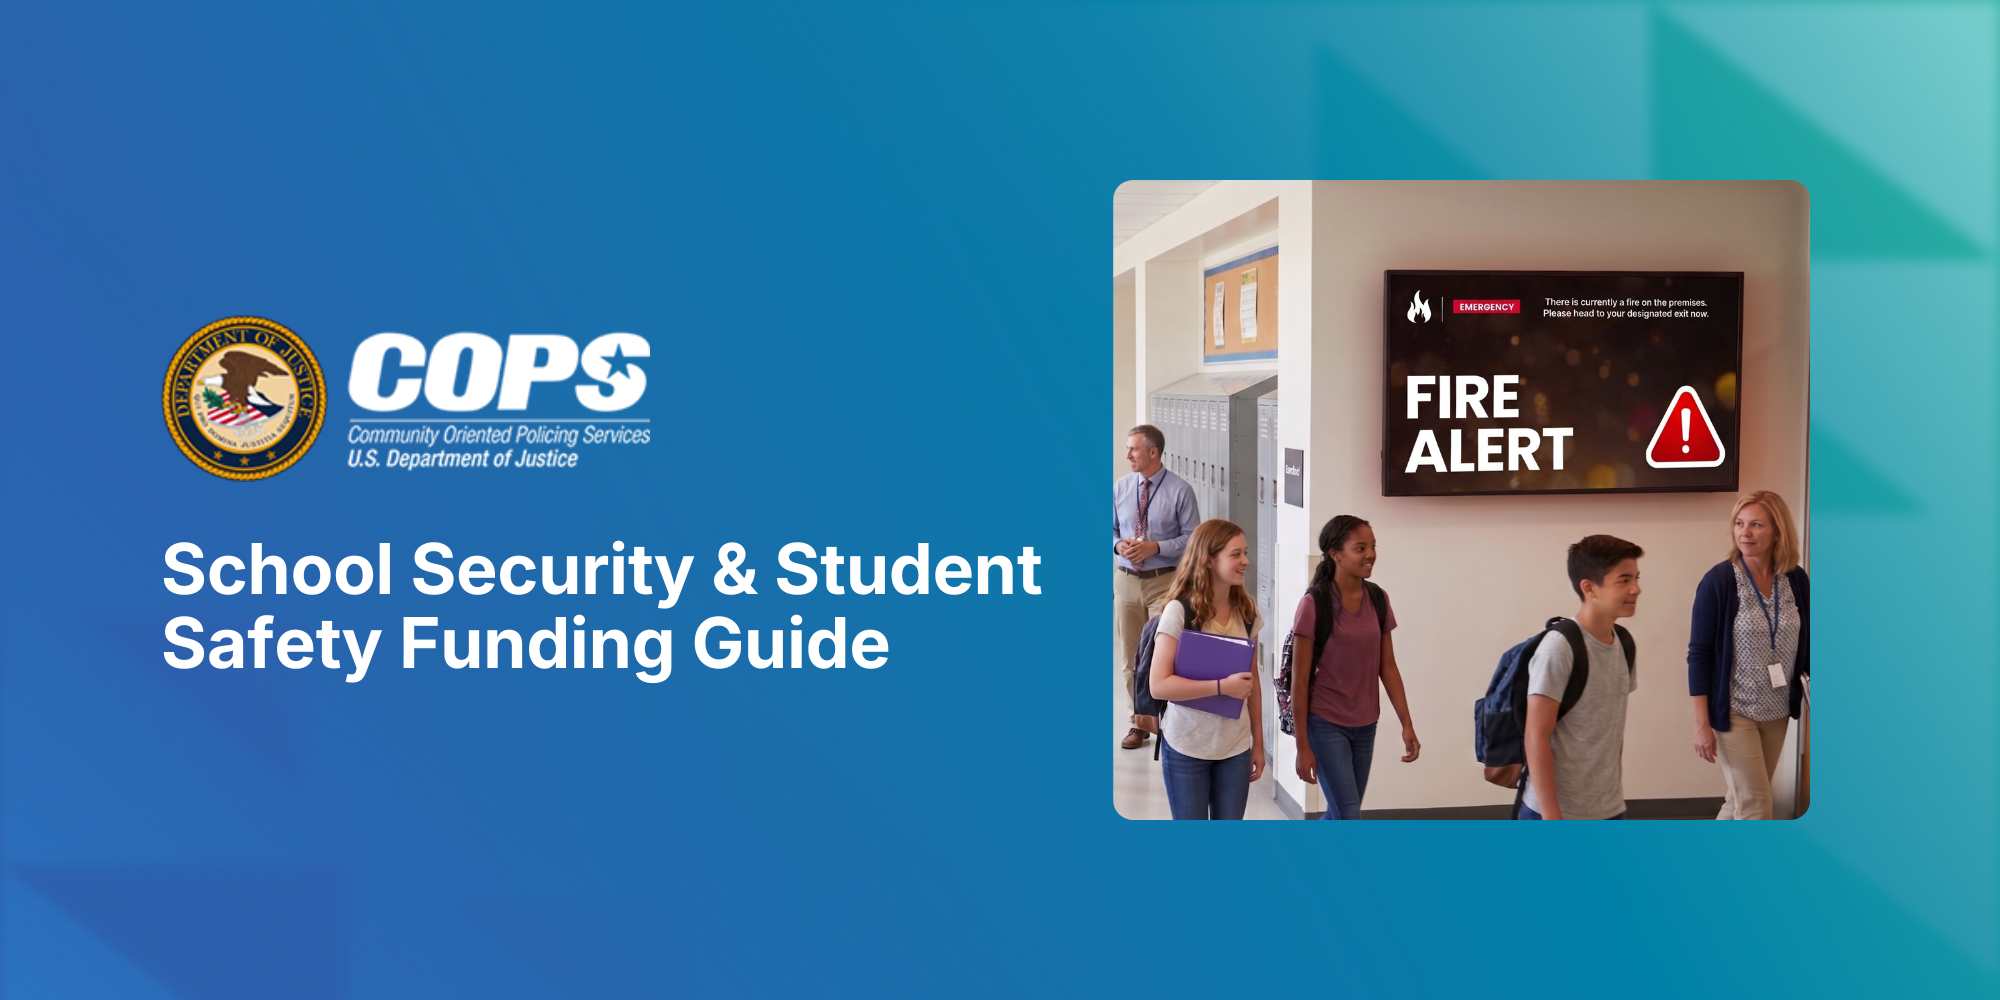
The COPS School Violence Prevention Program: A K-12 District's Guide to Federal Funding to Support Student Safety
Every year, school districts are asked to do more with less: keep students safe, keep communication clear, and keep budgets in check, often all at once. The School Violence Prevention Program (SVPP)[…]
Read More
12,300+ Organizations Trust Rise Vision, You Can Too


Schedule a Free Demo
You deserve the #1 all-in-one platform for digital signage, screen sharing, and emergency alerts.


