
Rise Vision is compatible with multiple platforms (including Windows, Linux, and, coming soon, Chrome OS); for our DIY users, we offer Raspbian OS.

If you will be using videos or any signage that requires a lot of memory, we highly recommend using a media player that can process it faster (such as the NUC i3). What our users have long appreciated about Rise Vision’s digital signage content manager is the ability to pick their own media player. While hundreds of schools have ultimately decided to use the NUC i3 or other media players, many more have decided to build their own low-cost solution with Raspberry Pi.
Raspberry Pi is obviously a low-cost way to create a media player, but it’s also an excellent learning tool; some schools have tasked students with creating the media player that will ultimately be used for their digital signage. While Raspberry Pi probably isn’t the best media player for all of your digital signage, it can be a fun K12 digital signage project for students. This post will help you get Raspberry Pi for schools up and running.
What Hardware Is Needed to Run Raspberry Pi with Digital Signage?
Creating a Raspberry Pi media player can be done very cheaply, which you’ll see below.
We are using Amazon in this example, but we encourage you to shop other retailers to find the lowest price.

- Raspberry Pi 3 Model B Motherboard ($39.99) - The motherboard is the main component of your media player, but not the only part.
- Case, Fan and Power ($16.99) - To protect your motherboard and keep it from overheating, you need a case and a fan; these are almost always sold as a bundle, so you get a power adaptor as well (which you will need, and would cost you about $10 separately).
- Micro SD Card ($6.95) - You need memory to store your signage; how much entirely depends on what you are doing. The 16GB in this listing is plenty to get you started, but for a few dollars more you can double the storage.
Optional
Wireless Keyboard / Trackpad ($19.99) - We are keeping this as an optional accessory because chances are, you have one already; you could also use a USB keyboard/trackpad.
The total cost in this example without a keyboard is $63.93 ($83.92 with a keyboard / trackpad); if you shop around, you probably can find everything bundled together at a lower price (such as this one). Because Raspberry Pi uses many things you probably already have (such as a MicroSD and USB adaptor) there are likely several parts you can skip.
Installing Raspbian OS and Digital Signage Player On Raspberry Pi
Raspbian OS (the official operating system of Raspberry Pi) is not typically pre-installed on the device. There are a couple of different ways to get it. The easiest way is to buy an SD with Raspbian loaded on it (such as this $14 SD card); you’ll also be able to use the extra storage for your media player. If you want to save money, you can download Raspbian for free and load it onto the card yourself by following these instructions (you’ll need to use a Windows or Mac computer with an SD reader for this step).
Once you have installed the OS, you are ready to install Rise Vision’s free player. We have the steps in this post. After you’ve installed the free player, you are ready to run your Raspberry Pi media player.
If you are using Raspberry Pi with your school digital signage, we’d love to hear how it is working out for you. Share your story here.
More From Our Blog
-
Digital Signage Best Practices for Schools and Organizations
Effective digital signage starts with legible design, accessible contrast, and content that matches your viewing environment. Keep screens current with a content plan, make updates simple enough for[…]
Read More -
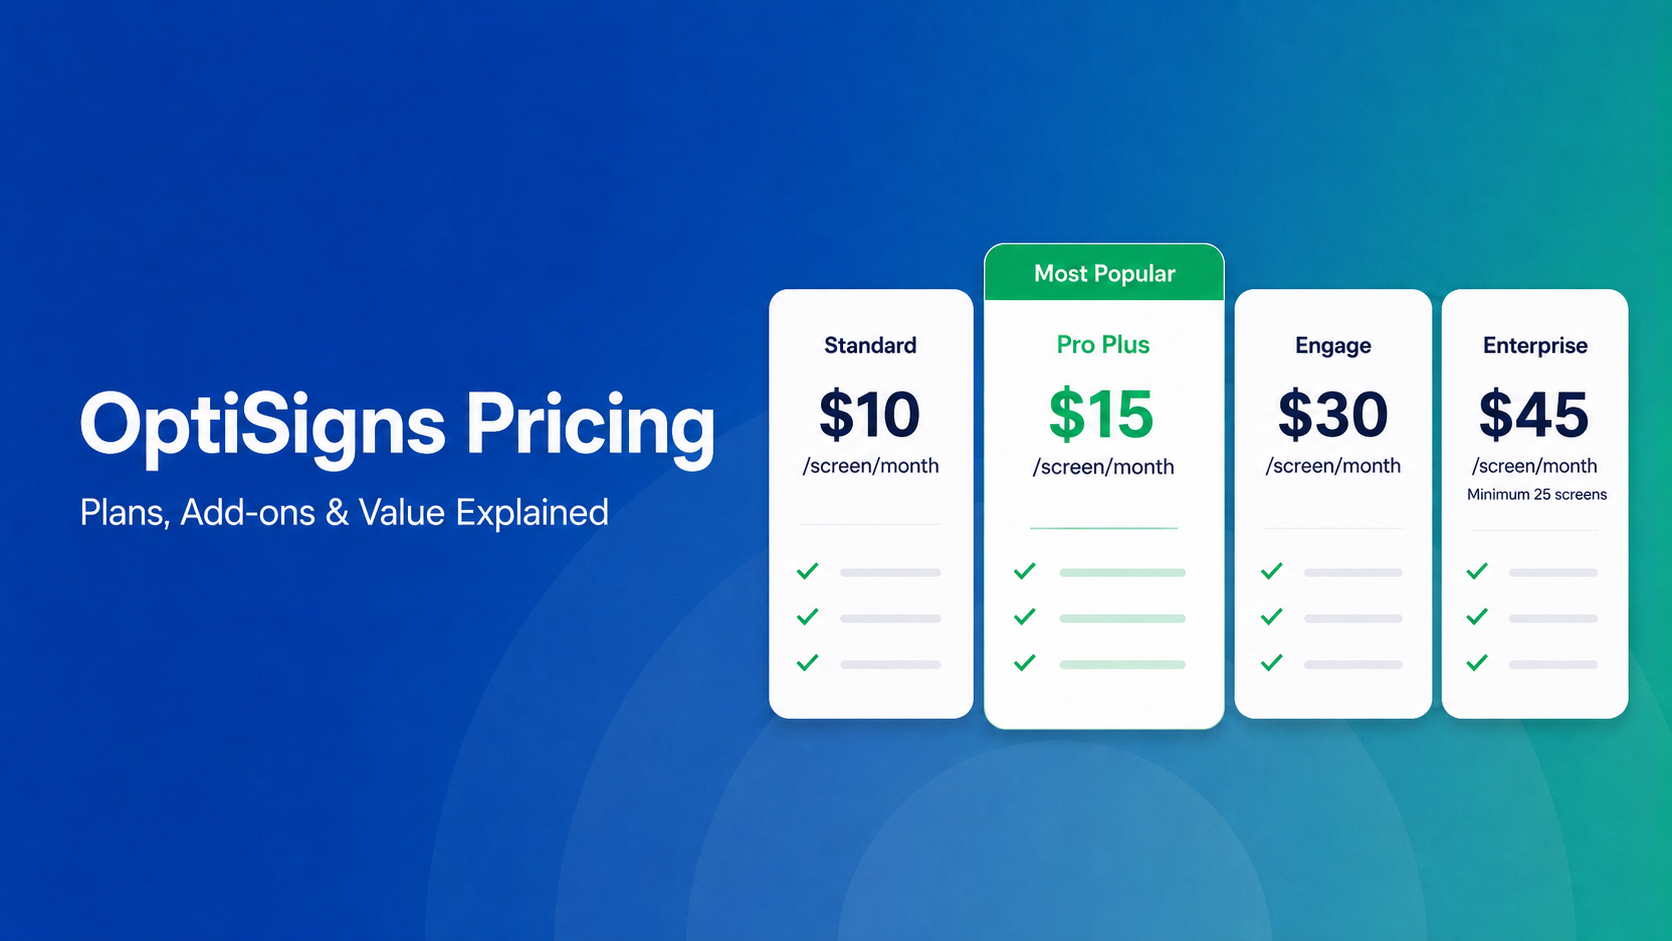
OptiSigns Pricing in 2026: Plans, Add-Ons, and What It Really Costs
OptiSigns' paid plans run $10–$45/screen/month ($9–$40.50 on annual billing). Add-ons for wireless presentation and video walls aren't included in any base plan, and phone support requires an upgrade[…]
Read More -
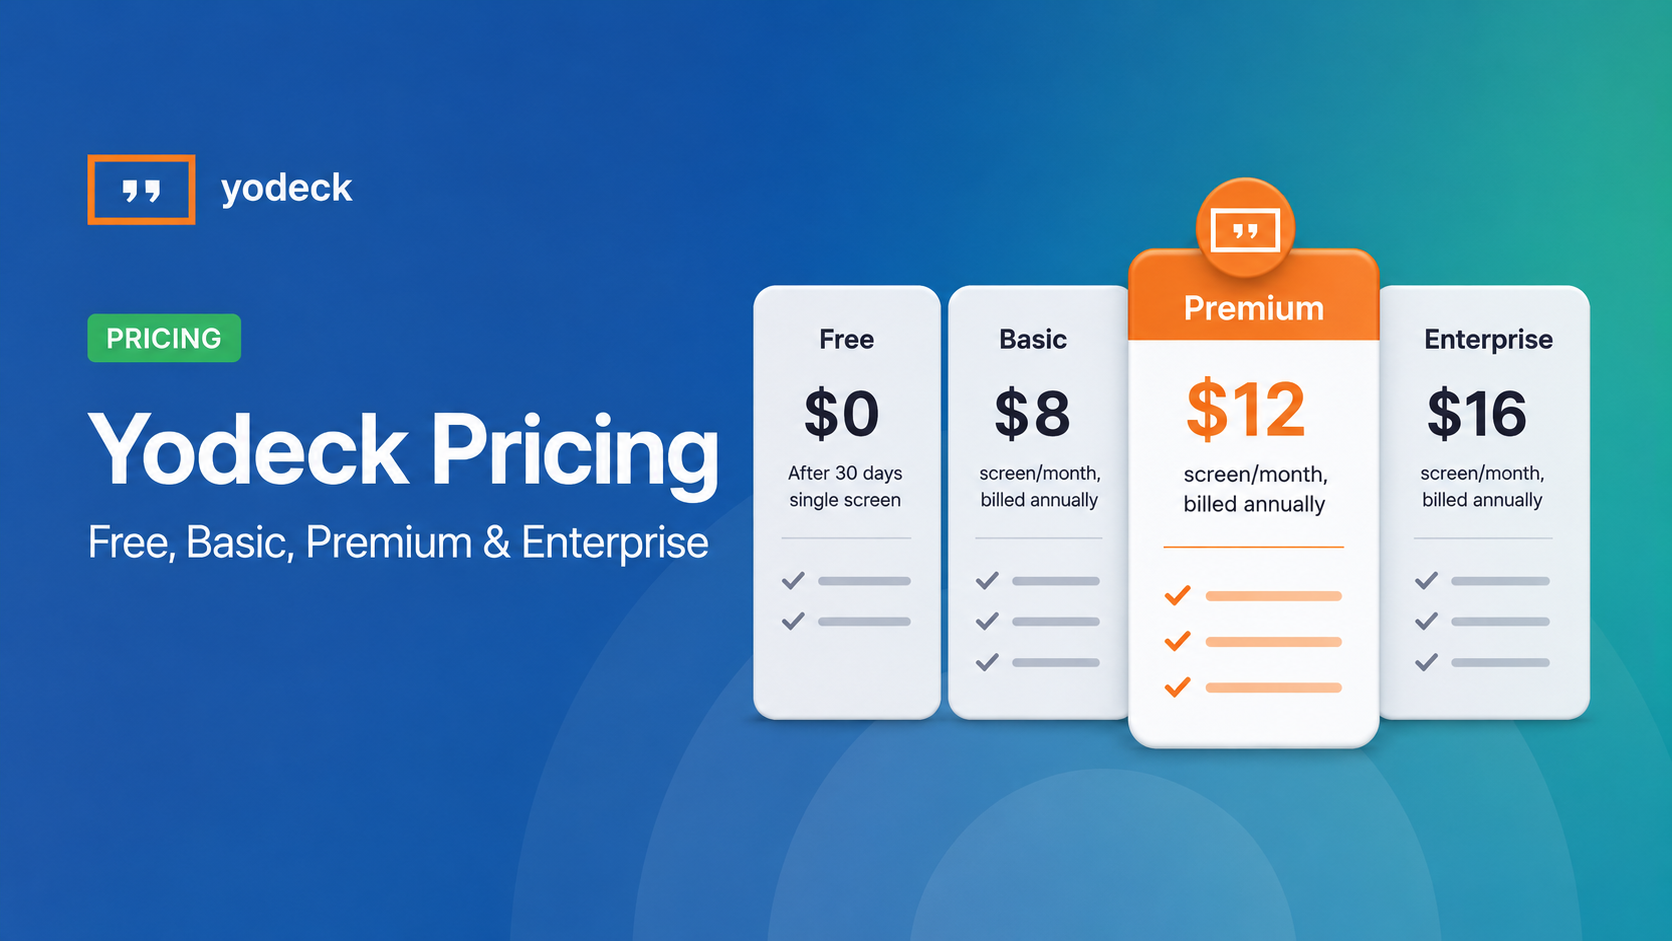
Yodeck Pricing: Plans, Costs & What Changed in 2026
Yodeck bills per-screen with no ceiling (free up to $16/screen/mo) so costs rise with every display added. 2026 Price Increase: Yodeck raised Premium and Enterprise plans by $1/month per screen,[…]
Read More
12,300+ Organizations Trust Rise Vision, You Can Too


Schedule a Free Demo
You deserve the #1 all-in-one platform for digital signage, screen sharing, and emergency alerts.


