Digital signage software is a powerful advertising tool. More and more businesses are beginning to recognize this, raising the digital signage market value to almost $33 billion in 2023. That’s an 11% year-over-year growth rate from its value 7 years prior ($20 billion).
Digital signage is becoming standard in a business’s marketing and communications strategy. We’re seeing striking digital signs with dynamic visuals, interactive content, and compelling messages everywhere.
Technology has been developing at a rapid pace, which is forcing businesses to adapt to stay ahead. In the age of digital transformation, the key to remaining competitive and effective is learning how to leverage new technologies to improve business operations.
In the ever-evolving landscape of education, the integration of technology has become pivotal in enhancing communication, engagement, and overall learning experiences. In this case study, we delve into the enlightening conversation we had with Kailee Rowell, the Media Specialist at Nahunta Primary[…]
Digital signage has advanced from wall-mounted displays and free-standing units to being placed atop mobile vehicles. All of us have seen it at one point — a brightly flashing LED screen sitting on top of a car, catching the attention of other motorists and pedestrians as it cruises the roads.
Cannon Falls Area Schools partners with families and its community to provide an inspiring environment to educate all students in its elementary, middle, and high schools. Tim Hodges, Middle and High School Principal sat down with Rise Vision to share how his school uses Rise Vision to help support[…]
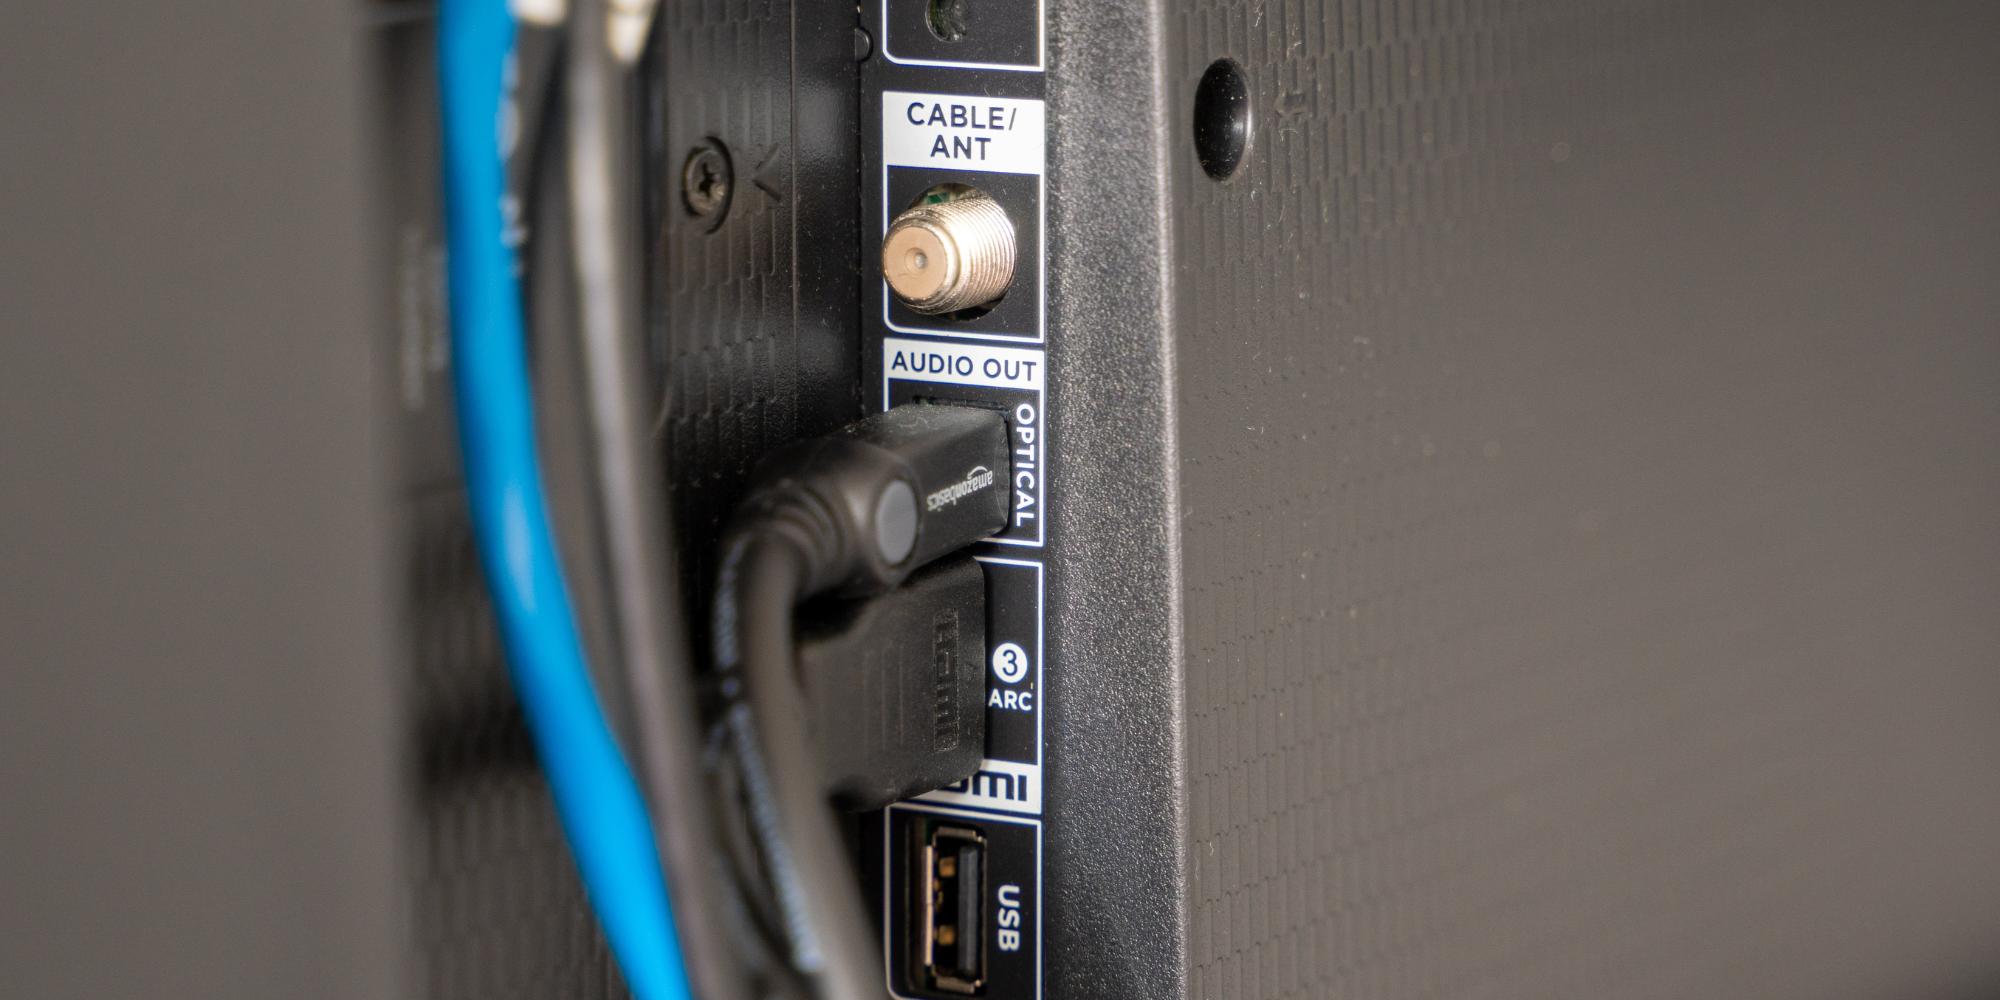
An efficient digital signage setup depends, to a large extent, on a good choice of hardware. By this, we don’t only mean the screens. A powerful, reliable digital signage media device ensures everything is running smoothly behind the scenes.
Placing digital signage outdoors allows you to take advantage of high-traffic areas, guaranteeing that more people see your screen and get your message. But this benefit also comes with a bigger risk, considering that outdoor installations are often exposed to weather conditions, one of which is[…]
With its bold dynamic displays, interactive features, and other advanced capabilities, you might think that cloud based digital signage software cannot get any better than this. It’s a huge step up from traditional signage, a symbol of the future of marketing and communications.
A lot of businesses invest in digital signage only to end up displaying stale content that their audience is tired of seeing. Although digital signage has the advantage of being convenient to use for marketing, advertising, or other purpose, it’s not something that you should just set and forget.
In the ever-evolving landscape of education, the combination of technology and communication plays a pivotal role in shaping the learning environment. American Heritage Charter School, nestled on the outskirts of Idaho Falls, embarked on a journey to enhance safety and streamline communication[…]
In gyms and fitness centers, people usually do their own thing, focused on their workouts without engaging much with the staff and other gym goers. But despite this highly individualistic environment, communication and community are still important in a fitness center.